If you’re an aspiring welder, you know that welding creates a strong connection between two or more pieces of metal.
But just how strong that connection is—and what you need to do to achieve it—depends on several factors. One of the most important is the type of welding joint you’re working on.
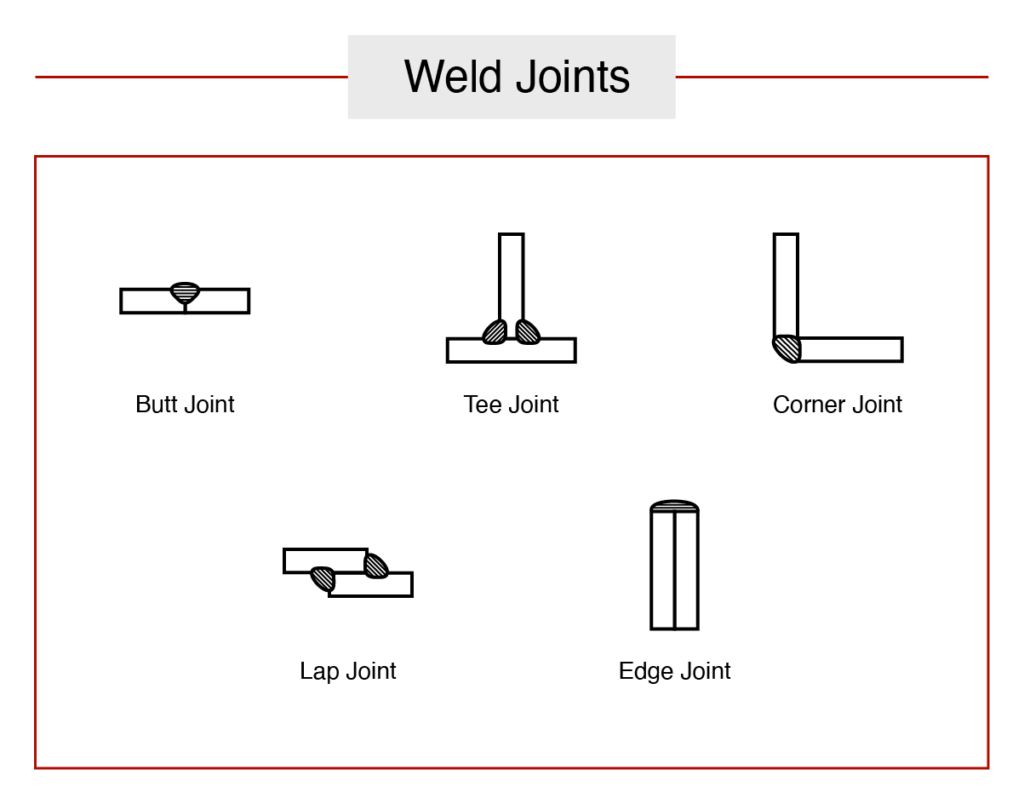
The term “welding joint” refers to the geometry of pieces of metal coming together. Different joint types have their own applications and considerations. To help you get up to speed, let’s explore the five basic types of weld joints.
When you join two pieces along their edges on the same plane, that’s the common butt joint.
Ideal for a strong, seamless connection between flat pieces, this joint type is widely used in construction, fabrication, and manufacturing.
Once you prepare, align, and secure the pieces, you deposit the weld bead along a groove or in the gap between the two pieces. Maintain proper heat control and travel speed to achieve full penetration and create a sound weld.
This is one of the most common types of welds. You just put two pieces of metal together at a 90-degree angle so that they make a T shape. It’s the classic fillet weld joint.
You’ll encounter tee joints when building frames, bridges, and machinery—or anywhere components are joined at right angles. This type of joint provides good strength and rigidity when properly welded.
After positioning and properly supporting the perpendicular connection, deposit your weld bead along the intersection of the two pieces. Be sure to maintain the correct, consistent angle and travel speed for proper penetration and fusion.

A corner joint is also a right angle. But as the name implies, the pieces are aligned to create a corner. You might weld corner joints in structural applications like frames, brackets, and boxes. With good technique, these joints provide solid strength and stability.
Position the pieces to form the desired corner shape: edge to edge (open), flush (closed). Deposit your weld bead along the intersection, filling the gap to create a fillet weld. Maintain proper heat control and travel speed to achieve full penetration and create a sound weld.
A lap joint involves welding two overlapping pieces. It’s common in sheet metal fabrication, automotive manufacturing, and aerospace applications, where components need to be joined with minimal stress concentration.
After ensuring proper fit-up, deposit your weld bead along the overlap. Control your heat input and speed to prevent burn-through and achieve proper fusion.
An edge joint is when two pieces are up against each other along their edges. This joint is common in sheet metal and other structural applications where pieces are running parallel.
Align the edge of the pieces, ensuring proper fit-up. Prepare the edge with a groove to allow adequate weld penetration. Deposit your weld bead along the edge of the joint.
No matter what type of welding joint you’re working on, keep in mind your power supply.
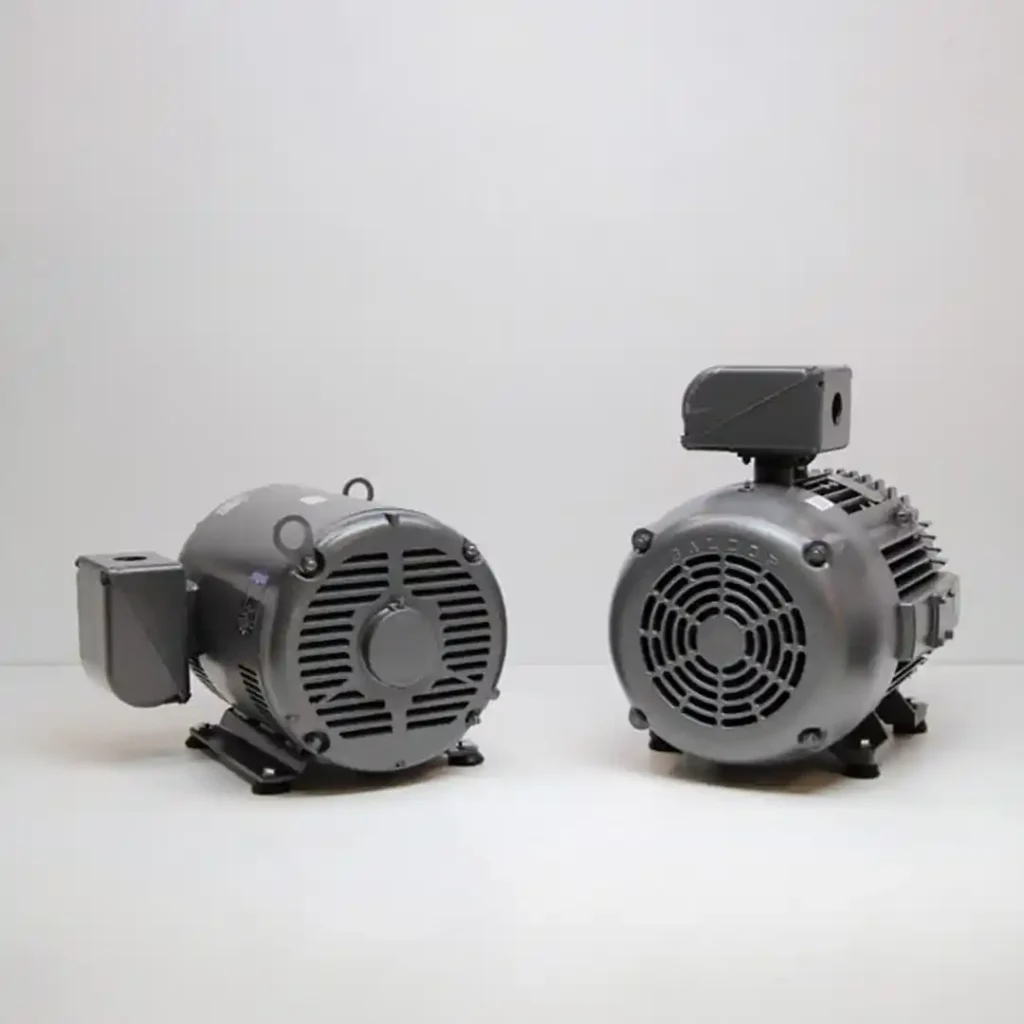
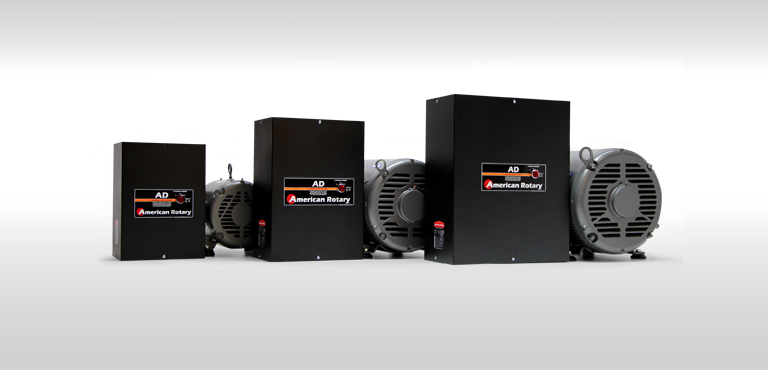
Many of the most reliable welding machines take three-phase electricity rather than your standard single-phase utility service. To make sure your shop can handle the load, you can get a rotary three-phase converter.
A quality, USA-made phase converter from American Rotary can deliver smooth, consistent power for clean welding results with any welder you choose—and any joint you’re tasked with. Explore our phase converters for welding today.