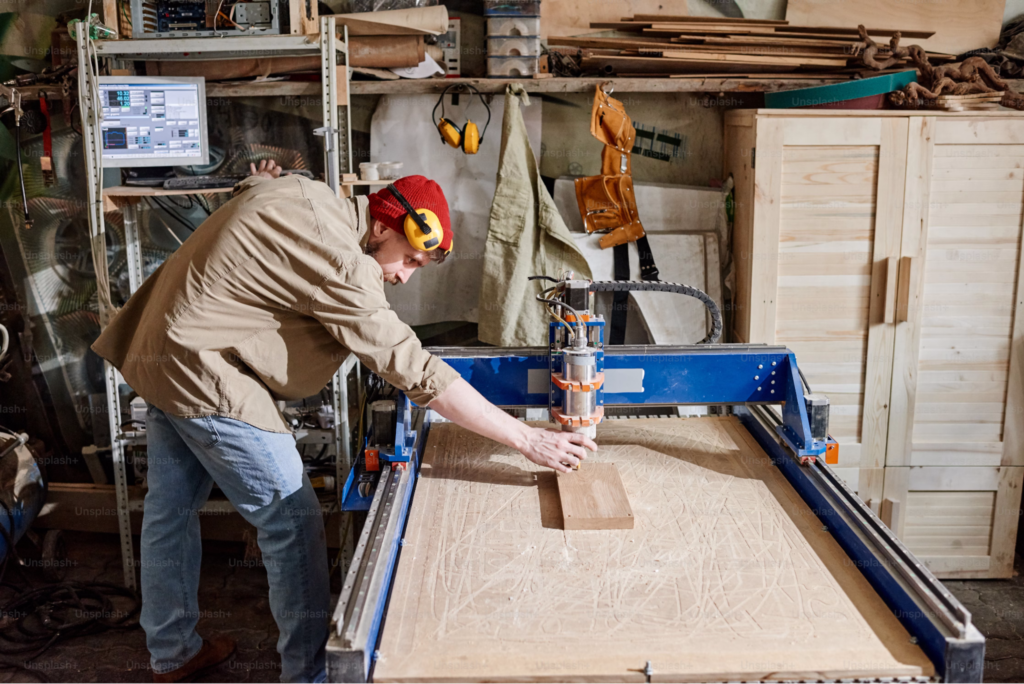
You can get a lot done quickly while working with wood in a CNC router. But that’s not to say it’s always easy. CNC machines are fast, but you’ll often encounter the same issues you would if you were using a manual machine.
Different types of wood have a wide range of variability and unique characteristics that present many issues that can lead to frustration during the machining process. But with the right know-how and techniques, it can produce great results. So, let’s look at the five most common CNC wood milling problems and ways to solve them.
They call it that because it makes you tear out your hair.
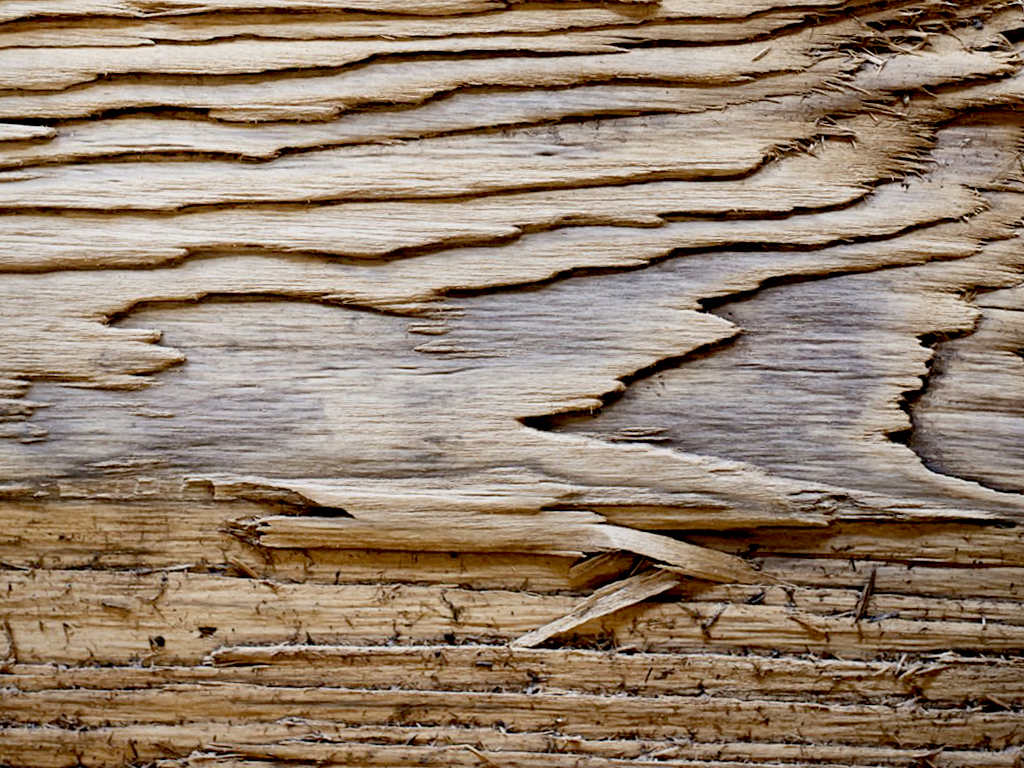
Just kidding (maybe?) … but still, tear out—when the wood grain starts to splinter or fracture—is undesirable. The type and quality of the wood is often a key factor. Here are some adjustments to your CNC approach that can take care of it.
Your standard plunge cuts can overwhelm your wood.
Instead, try ramping your tool in at an angle and reducing speed when entering the cut. This approach isn’t as hard on the wood or your tool.
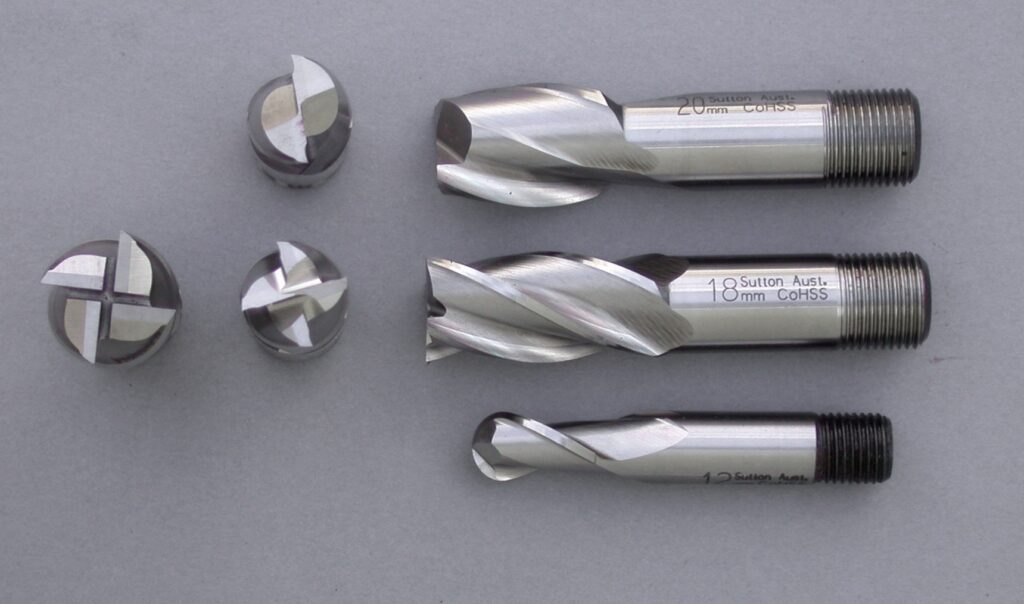
The shape of the cutting edge on helical bits tends to pull up on wood when cutting, which can cause tearing.
The obvious alternative is to use straight bits. They might still put a bit, but less so. And while you’re at it, opt for longer-lasting tungsten carbide bits instead of high-speed steel for maximum performance.
Scoring is a valuable technique for smoother cuts in many different disciplines. CNC wood routing is no exception.
Score the surface at the edge of your cut with a knife (you can even do this with a CNC tool). At that point, you should have a clean cut free of splinters.
In conventional cutting, you feed the workpiece against the router bit’s direction of rotation. The cutter collides with the wood, sometimes causing splintering.
In climb cutting, you feed the wood in the same direction as the bit is rotating. The cutting tool eases into the wood, creating chips that start thin and then get thicker as the bit goes farther. This approach reduces the cutting forces and risk of tear-out.
Sometimes, all you need to minimize tear-out is more support.
That’s where a backer board comes in. Clamp a backer against your end grain, for example. That should let you cut with the grain without splintering. Or use your spoil board as a backer for the bottom of a cut.
At the risk of being too elementary, wood burns when it gets hot.
Cutting wood creates a lot of friction and, by extension, heat. Anytime you have to keep it in one spot, you run the risk of burn marks. Use good, sharp bits, for starters. Here are some other things you can do to prevent this issue.
Drier hardwoods may also be more susceptible to burn marks. So when working with this variety of wood you may need to treat these types of wood differently than softer woods.
A straightforward way to minimize excess friction is to start with the denser end grain. Then proceed to your long grain.
This approach can help dissipate heat that gets built up during cutting.
We’ve already covered the concept of multiple, lighter passes. It works here, too.
In addition to your feeds and speeds, look at the depth and width of your passes. You may need to take off no more than ⅛ inch of material at a time.
The more material you’re cutting off at a time, the more heat you’re going to be building up.
Again, folks, speeds, and feeds!
Most of the time, when you see burn marks on your wood, it’s just because your spindle speed is too high. The faster the spindle speed, the more friction the cutting edge is creating. You may need to reduce your spindle speed a little bit or use a calculator to determine the correct speeds and feeds for the cut you’re trying to make.
If this doesn’t work, it may not be a bad idea to invest in a laser tachometer to see if your actual spindle speed is what the machine says it is, and adjust accordingly
Fuzzy grain is a disappointing blemish on the exposed cut of the wood. Tiny fiber bits jut out when you don’t get a clean cut.
These “type 3” chips are often caused by coming in too low with your cutter’s rake angle. You’re basically plowing instead of shearing the wood. Here are some options to fix the problem.
Doing work in phases is an excellent way to get around many problems in woodworking.
Case in point with a CNC router: start with a rough pass to remove most of the material first. Then, smooth things out with a much lighter finishing pass (in terms of cut width). The more delicate finishing cut should help clean out splintering without adding any new fuzzy grain.
This advice is closely related to the last tip. Owing to the narrower cut of the finish pass, you might need to do three or four passes to complete the cut and make it nice and clean.
You might be looking at up to four passes to get a finish pass that’s light enough to avoid additional splintering.
If you’re using a helical bit, the helix gets more opportunity to pull up the wood the deeper you go.
So, reduce the depth of the cuts to minimize this issue. You should see smoother results.
Feeds and speeds, folks!
Many unsatisfactory router results are simply due to a feed rate that’s too high—or, in this case, most likely too low. In this case, the bit grinds slowly at the surface.
You may need to play around with your feed rate to find the sweet spot. Or consider using an online calculator to determine the optimal rate.
All those wood chips have to go somewhere. Sometimes, they go right into the workpiece surface and leave minor chip marks. Higher moisture content can make these marks look worse.
It’s best to use air blast coolant to clear the cutting area. In addition, you can try some of the following approaches.
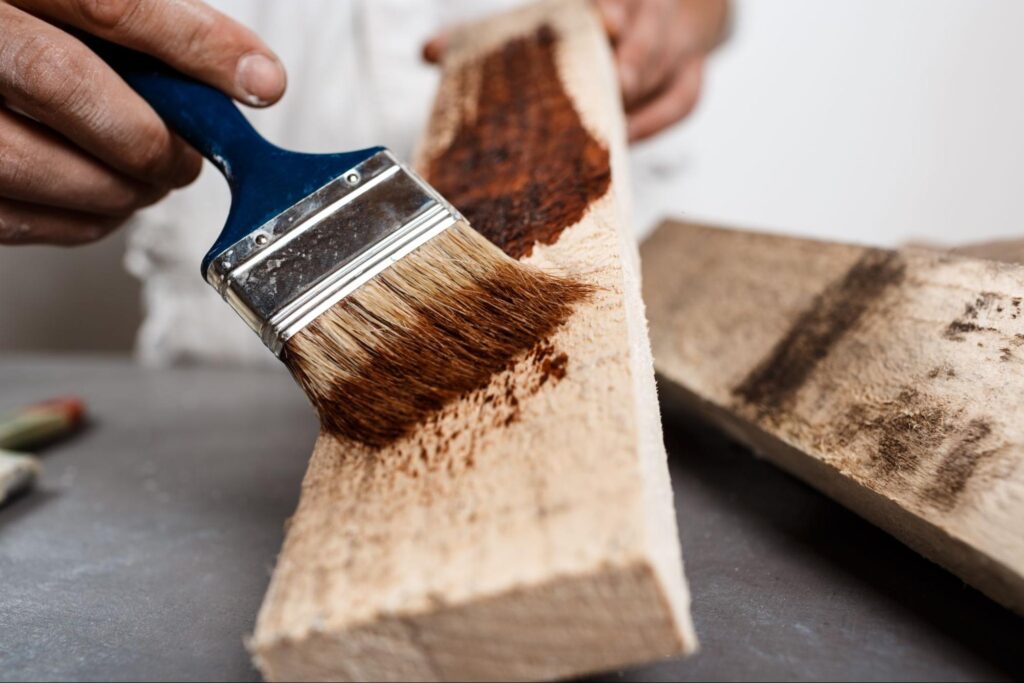
Reinforce the surface you’re cutting with a coat of finish such as:
This simple step can work wonders where chipping is concerned.
Like the previous tip, you can reinforce the surface with masking tape.
Make sure the surface is clean, dust-free, and dry. Use a rubber roller for complete and even application of the tape..
You may be noticing a pattern here. Doing things a little bit at a time can help you in many ways in CNC routing.
In this case, try doing multiple plunge cuts along your cutting path (instead of just continuous cutting). That way, the chips don’t have as far to go and are less likely to mess up your surface.
Have you seen an old picnic table with sections of fibers (not technically grain) sticking up from the wood surface? That’s what’s known as raised grain.
The causes are complex. But in essence, instead of cleanly cutting through the wood fibers, you only tear at them or push them down into the wood. Later, moisture can revive these fibers and draw them back out.
It’s another case in which sharp tooling can help by making cleaner cuts. But what can you do about it?
Softer woods—pine, balsam, etc.—are much more prone to raised grain problems. (Truth be told, the same goes for splintering and other CNC routing challenges.)
The denser hardwoods cut more cleanly and are less likely to hide broken fibers that will later spring up on the surface of your product. By the way, all plywood is at risk of raised grain, but you can reduce that risk using plywood made from a hardwood such as birch.
For great CNC results all around, consider how you power your equipment. Generally speaking, three-phase electricity enables smoother CNC operation.
But many woodworking operations, especially home shops, lack three-phase power. So how can yours accommodate 3-phase CNC?
A rotary phase converter will do the trick.
American Rotary phase converters are ideal for providing reliable, balanced power for CNC woodworking. With the proper sizing, you can get one that will run all the equipment in your shop (single-phase and three-phase) simultaneously.
The right power and knowledge can make your CNC work easier … a lot more satisfying!