A metal lathe plays a key role in so many different machine shop jobs. So, getting to know this versatile machine tool is an important first step for beginning machinists.
This article will provide an introductory overview of the basic operation of a metal lathe.
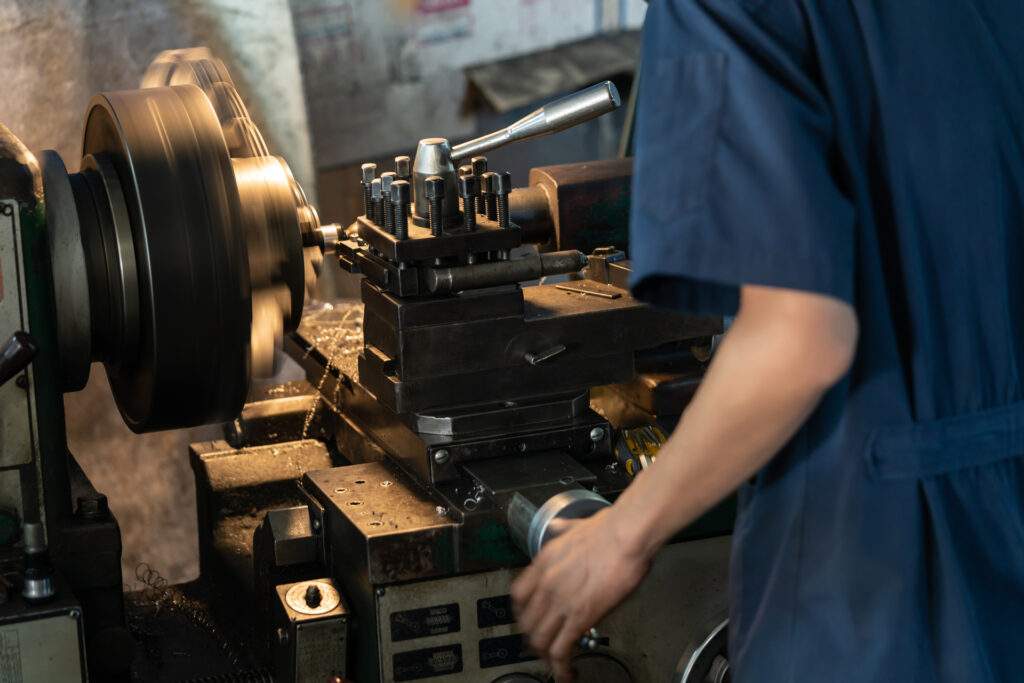
A lathe does its job by spinning a workpiece at high speed. You run a non-rotating cutting tool against the rotating workpiece to cut and shape it.
In other words, a lathe is ideal for anything that involves the common machining operation of turning—facing, threading, boring, etc.
If you’re shaping something cylindrical or symmetrical, you’re doing it on a lathe. For non-cylindrical shapes, you’ll probably need a milling machine. (Take a closer look at lathes vs. mills.)
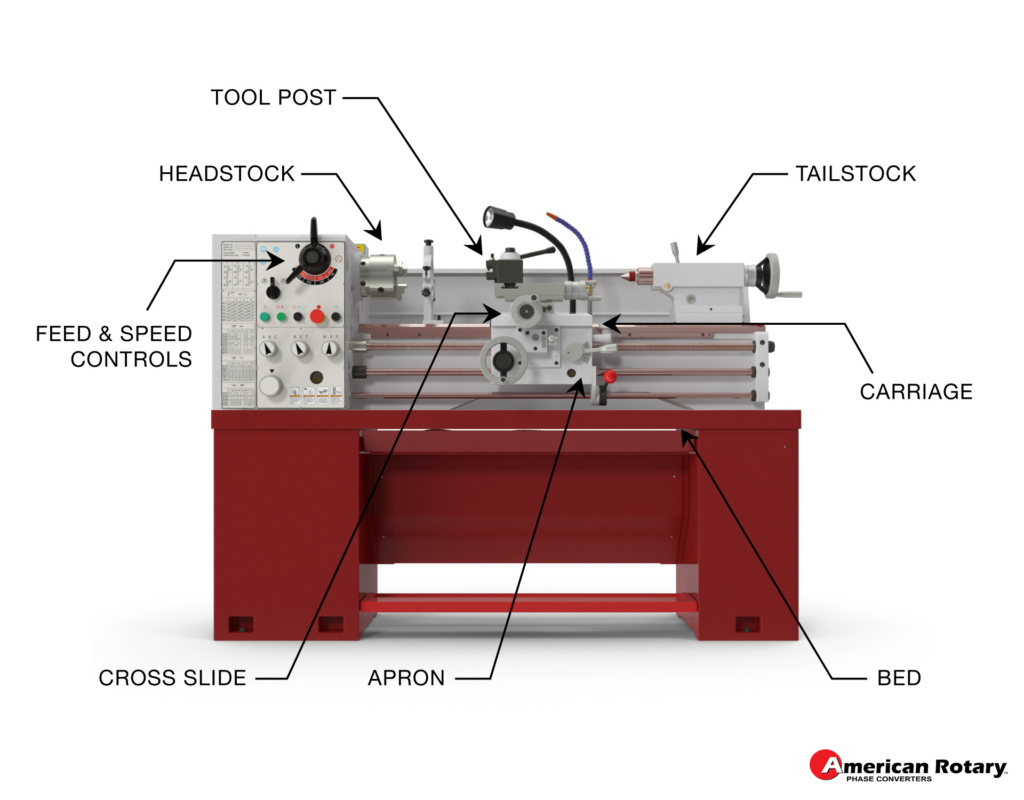
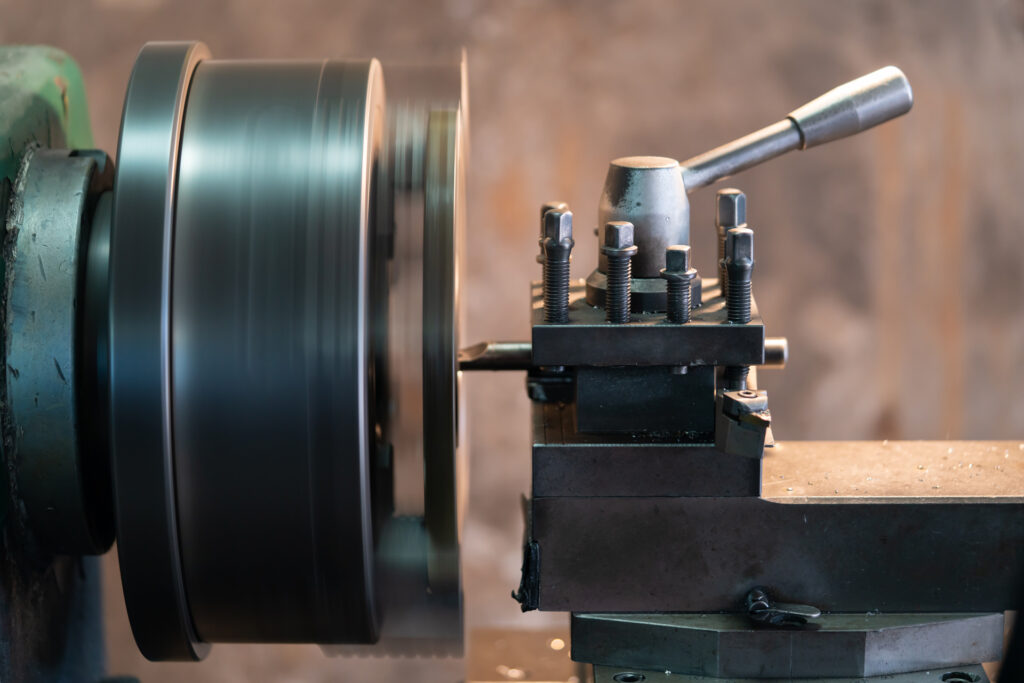
First, let’s get familiar with the fundamental components of a metal lathe. There are thousands of small parts that make up the entire machine. But we’ll focus just on the ones you need to deal with:
Bed – Flat, rigid foundation for all the machining action up top. Horizontal support for the headstock, carriage, and tailstock.
Headstock – Holds the spindle where you mount your workpiece. Contains the drive that turns the spindle at your chosen speed.
Feed and speed controls – Located on the headstock. Adjust the rate of cutting tool advancement and speed of workpiece rotation.
Tool post – Adjustable mount for your cutting tool. Allows for quick, accurate positioning (height and angle).
Tailstock – Mounted opposite the headstock. It can be moved along the bed to provide support for the other end of the workpiece. Often holds a center for ensuring part alignment.
Carriage – Platform that holds your tool post and moves along the bed to meet the spindle.
Apron – Part of the carriage, including movement controls and levers for engaging the feed.
Cross Slide – Mounted on the carriage for cutting tool movement perpendicular to the bed (x-axis). Includes the compound rest, which can be swiveled to any angle.
Before we get into basic operation, we need to talk about safety.
Yeah, we know it’s not the most exciting stuff. But it’s better to be a bit of buzzkill than let you get killed.
If there is one bit of lathe advice I hope you take away from this, it’s this. A metal lathe is a tremendously powerful machine. You have to respect it!
For starters, wear your PPE: safety glasses and steel-toed boots. But what is more important is what not to wear. And that’s anything that risks getting caught in the machine.
That means:
Also:
And, of course, learn how to use the lathe safely and always follow safe practices.
Now, onto the meat of our article: the how-to of basic lathe tasks. Each of the following will help you set your work up for success.
Centering your workpiece on a lathe—ensuring that it’s not out of round while it turns—is crucial to the accuracy of your cuts. It also helps protect the tool and the machine by minimizing vibration and excessive friction.
A simple method of centering your workpiece (see video demonstration above) involves using a travel indicator (a type of test indicator). Instead of a vertical plunger (like a typical dial indicator), the travel indicator uses a levered contact that glides over the part as it spins.
This way, you can note irregularities in the roundness of the outer diameter. The process is straightforward:
Just as important as centering the workpiece in the headstock is vertically centering your cutting tool with respect to the workpiece.
A tool that comes in too high will fail to properly contact the part with its cutting edge. The result will be excess friction.
On the other hand, a tool that’s too low may cause the workpiece to climb up over the tool. That can lead to a lot of chatter. Or you’ll end up with a little tip of unmachined material in the center.
In either case, you won’t get clean-cutting results.
That’s why you should always make sure the tool is centered. Here’s how to do it (as demonstrated in the video above).
Once your workpiece and tool are centered, it’s time to touch off and complete your facing cut.
Touching off refers to your initial approach with the cutting tool to contact the workpiece.
Facing cuts help you create a uniform surface for the rest of your machining work.
Here are the basic steps. You can see these in action in the video above, too.
Finally, now that everything is aligned and you’ve got a uniform workpiece, it’s time to make the real cuts as specified.
But you don’t simply cut the whole thing down at once (unless the part calls for very little material removed).
Instead, you will proceed through multiple passes. This phased approach is easier on tools and creates a smoother finish.
Start with the deeper rough cuts of up to .020. Get finer as you go. Your final pass should be .005 at most so that you can be right on spec.
Congratulations – you’ve just successfully machined a part!
Ready for some challenges? Check out our list of cool metal lathe projects.

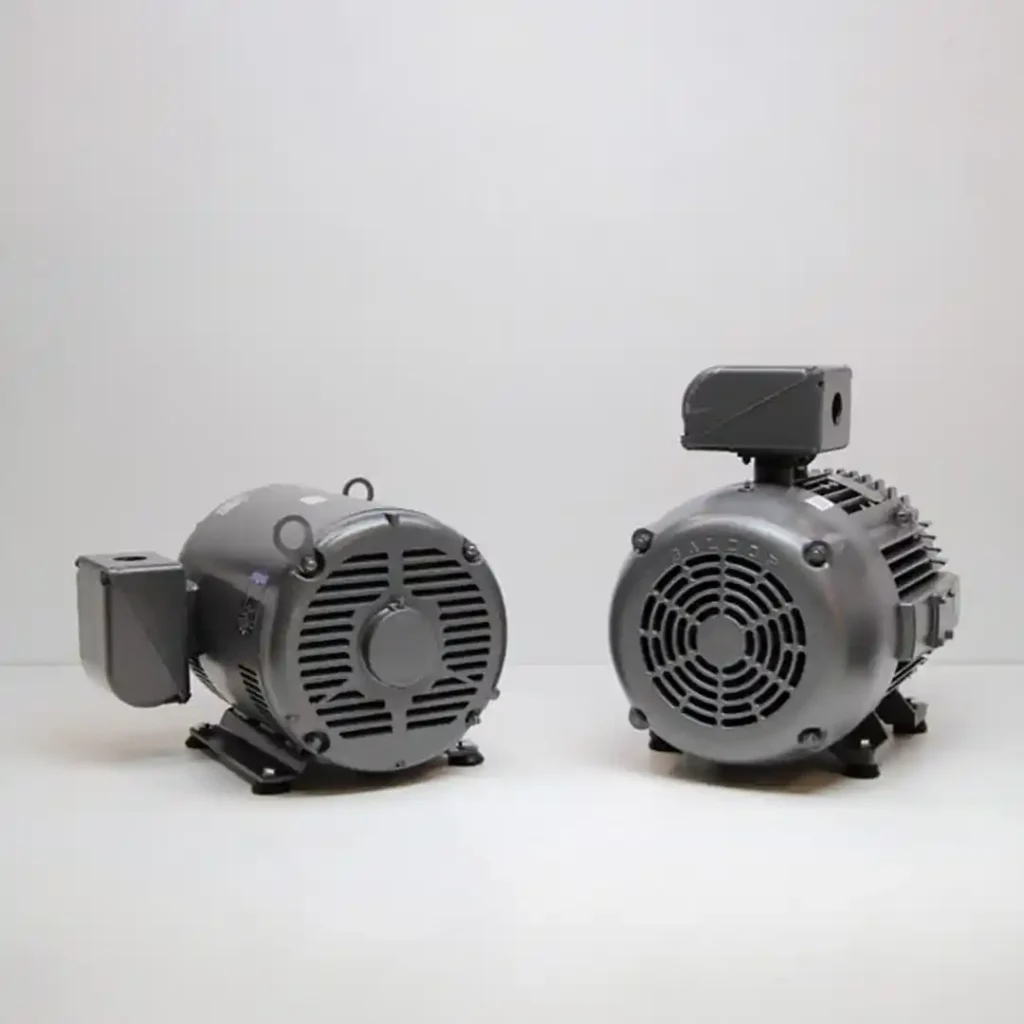
Most beginners are aware that a metal lathe takes a good bit of power.
But did you know that, given the higher horsepower requirements, 3-phase electricity will provide smoother operation for a metal lathe?
The only problem with that is most electric service is single-phase. But fortunately, there’s a simple solution: a rotary three-phase converter.
USA-made American Rotary phase converters, for example, are a great way to provide balanced 3-phase power to keep the whole shop running. Explore our products today, and feel free to contact us with questions.
By the way, if you enjoyed these how-tos, we’ve got more machinist tips for beginners here, as well as some metal lathe tips.