CNC (computer numerical control) machining makes possible some of the coolest, most complex metal parts you can imagine. It can be a thrill to program a CNC and watch it work its magic by efficiently cutting metal at high precision.
Want in on the action? If you’ve got some manual machining chops and want to step into the more high-tech world of CNC, there’s plenty to learn.
It helps to start with the basics, and we’ve got you covered. Let’s dive in with this guide to CNC machining for beginners.
In CNC machining, computer code controls the movement of machine tools and equipment.
The code tells the machine to move in specific directions and at specific speeds. It also gives instructions for cutting and shaping material. Automating these functions enables greater levels of precision, complexity, and production volume compared to manual machining.
All of these are key reasons CNC is big, and getting bigger, in today’s mass manufacturing industries — especially in high-tech markets like aerospace and medical devices.
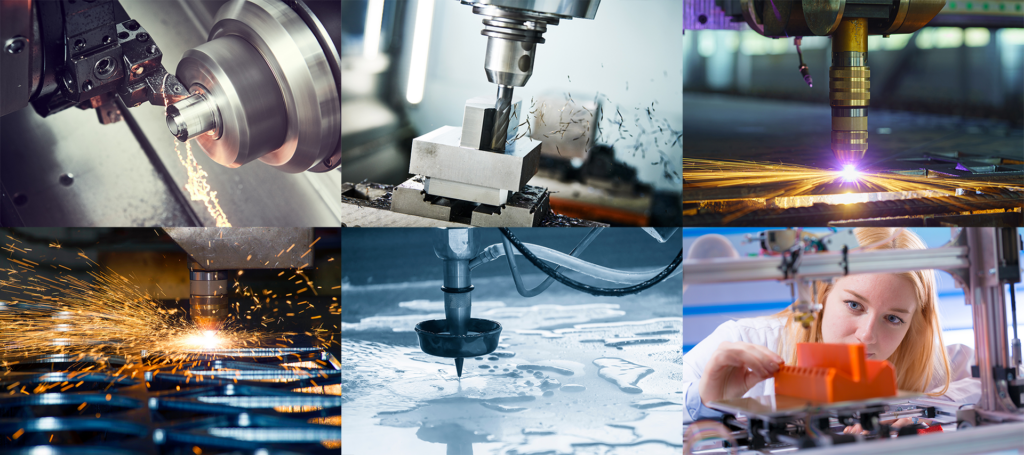
While the two core machining processes are CNC turning and milling, you can find almost any type of machining center with CNC. Popular CNC machines include:
Like other machining processes, CNC starts with a good print. In this case, the print is a computer-aided design (CAD) drawing.
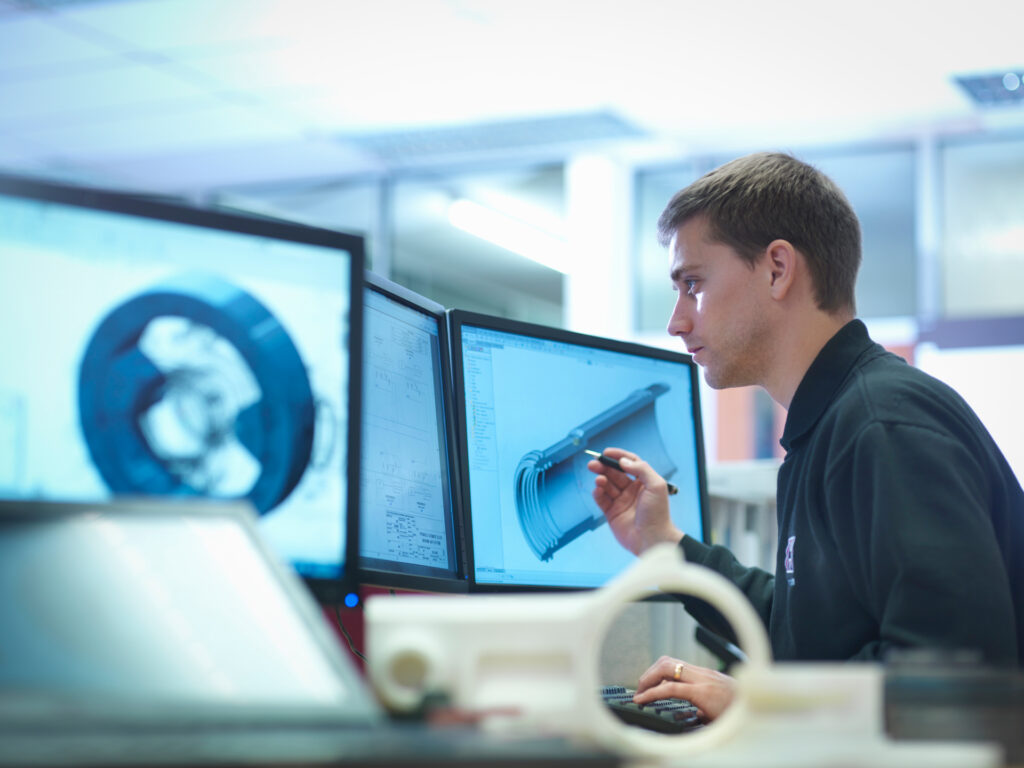
So if you want to get into CNC, you’re going to need to get to know CAD software. Some of the most popular platforms include:
Don’t have any experience with CAD software? There are lots of resources to help you learn.
Online courses on YouTube, Coursera, or even LinkedIn are a good place to start. You could try the official user guides for the software platforms listed above. But some are easier to understand than others.
Then there are books like the classic “For Dummies” series. Or just dive in and start playing around with a trial version of the software.
One way or another, you just need some practice!
OK, so you have your CAD drawing. Now what?
The next step is to convert this design into the actual computer code that will control the movement and functions of the CNC machine.
CNC programming involves two main types of alphanumeric code. There’s G code for the geometry of the machine — where to cut. Then there’s M code for miscellaneous functions, such as changing tools, using coolant, etc.
Today, you don’t necessarily have to master G code or M code programming to succeed with CNC. CAM (computer-aided manufacturing) software converts CAD into appropriate CNC code.
There’s a wide range of CAM software programs optimized for various machining functions. Here are a few examples:
Even with CAM, it still helps to have a good grasp of CNC programming. That’s because certain M codes are specific to different machines and processes.
With this understanding, you can verify the CAM output against manufacturer documentation — potentially avoiding wasted time and material.
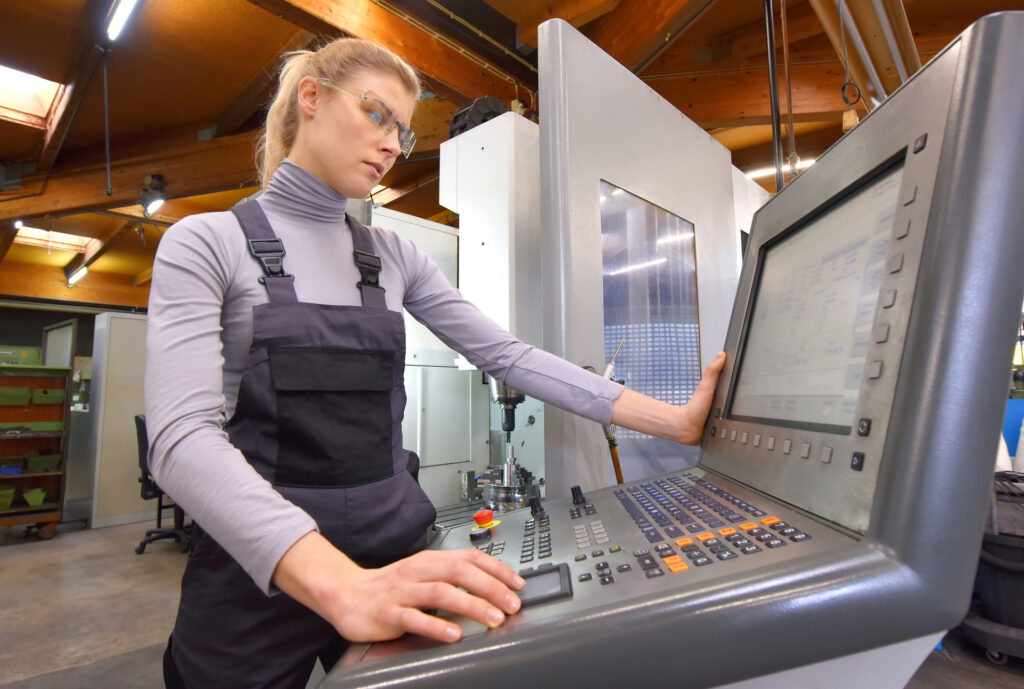
Once you have your code ready, it’s not quite as simple as pressing a green button to get going.
First, you have to make sure your CNC machine is set up correctly — or you risk costly damage and great frustration.
There’s a fair amount of setup involved before CNC can do its thing. Here are the fundamental steps.
That’s just a quick overview. If you want to go more in-depth, CNC Cookbook is a great resource on machine setup and many other issues.
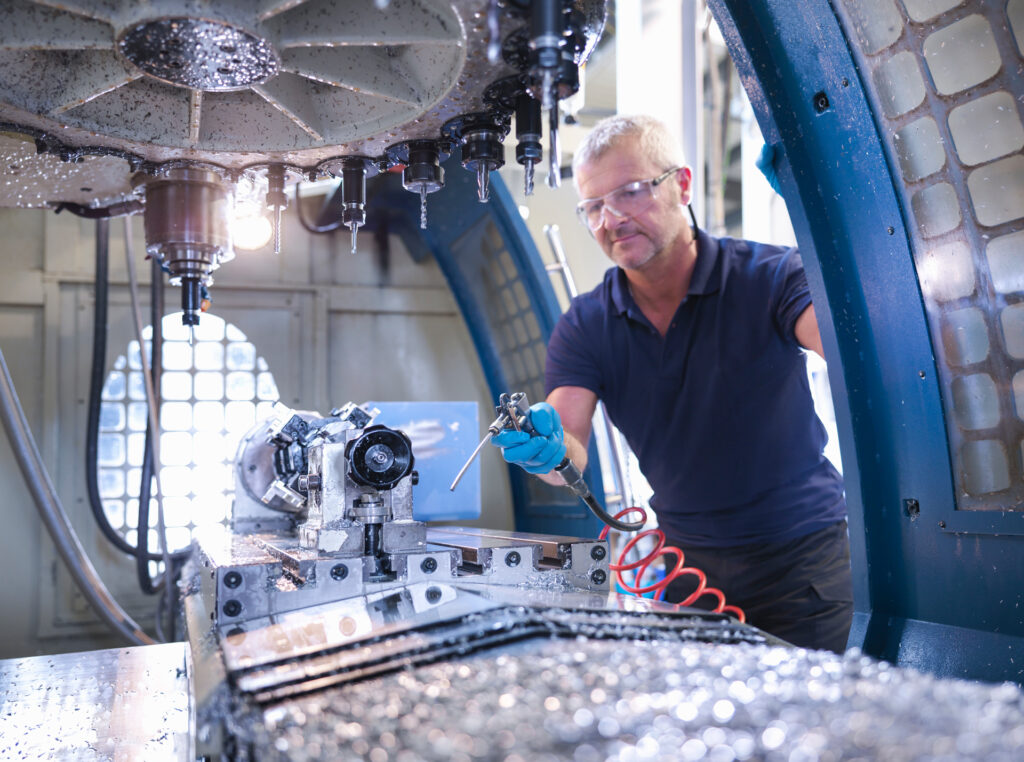
One trick with an automated system like CNC is that once it starts running, it’s out of your hands. It’s literally behind closed doors.
So there isn’t much you can do while it’s cutting other than to bring things to a complete stop.
But you still should stay alert with your eyes, ears, and even your nose. Do it for your own safety, as well as for future success in your CNC machining processes.
Watch your cutting tools through the glass. Listen for unusual sounds or loud bangs. Keep an eye on your coolant flow. Monitor temperatures on your control screen. And, of course, if you see smoke or smell something burning, shut things down, stat!
After you run each workpiece, do a visual inspection and look for imperfections. They could be signs of improper setup or a problem with operation.
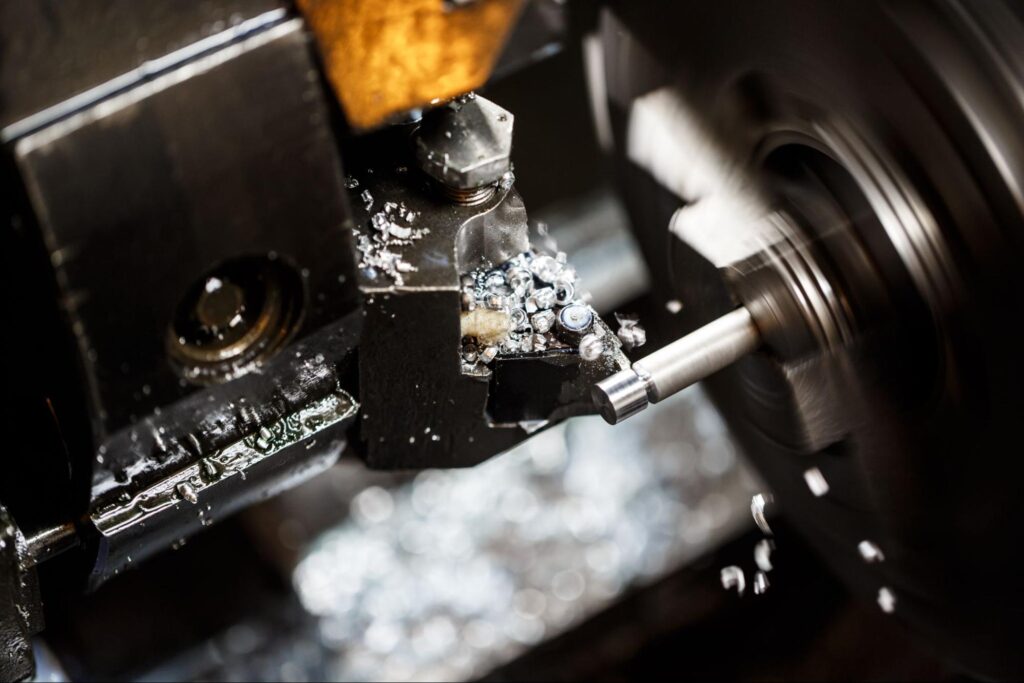
If you make a significant investment in a CNC machine, don’t mess it up with what’s arguably the most important factor in your success: your tooling.
It pays to use high-quality tooling to maximize accuracy, precision, and surface finish. You also reduce the risk of tool breakage and machine damage.
Finally, here’s one more — often overlooked — key to getting great CNC results.
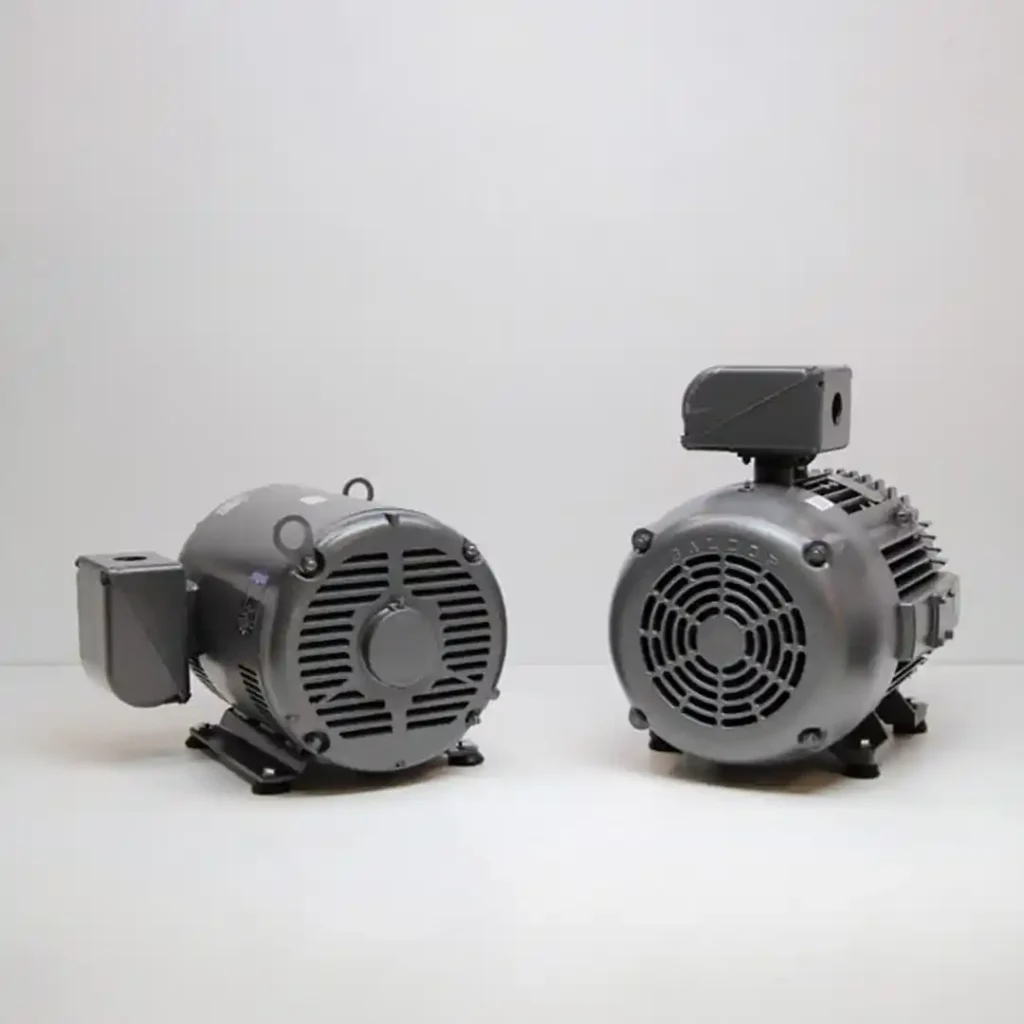
You need a stable and consistent power supply for your machine. You’ll almost always need 3-phase power instead of the common single-phase electric utility service.
But you don’t have to spend thousands getting 3-phase brought to your workshop. For a lot less money, you can get a rotary phase converter to do the conversion for you.
USA-made American Rotary phase converters for machining provide reliable, balanced power for precision metalworking. Any of our units can be sized to power just about everything in your hobby machine shop, including both single- and 3-phase equipment at the same time.
Here’s more about choosing the right phase converter. Or feel free to contact us today for help with sizing or any other questions. CNC is an exciting discipline, and we’d love to help you get started!