Does the smell of sawdust inspire you? Maybe it’s time you try to tackle some DIY woodworking projects. What are the most important tools you should have in your shop if you’re a beginning woodworker? Read on for a quick rundown.
Woodworking is one of the world’s most satisfying hobbies. It’s practical and versatile, too. Your imagination is the only limit to what DIY projects you can create, from furniture to fixtures to new DIY tech accessories.
And to get started, you only need some basic skills. You can learn from there. But first, you’re going to need some beginner woodworking tools for your shop. This article provides an overview of your essential woodworking equipment.

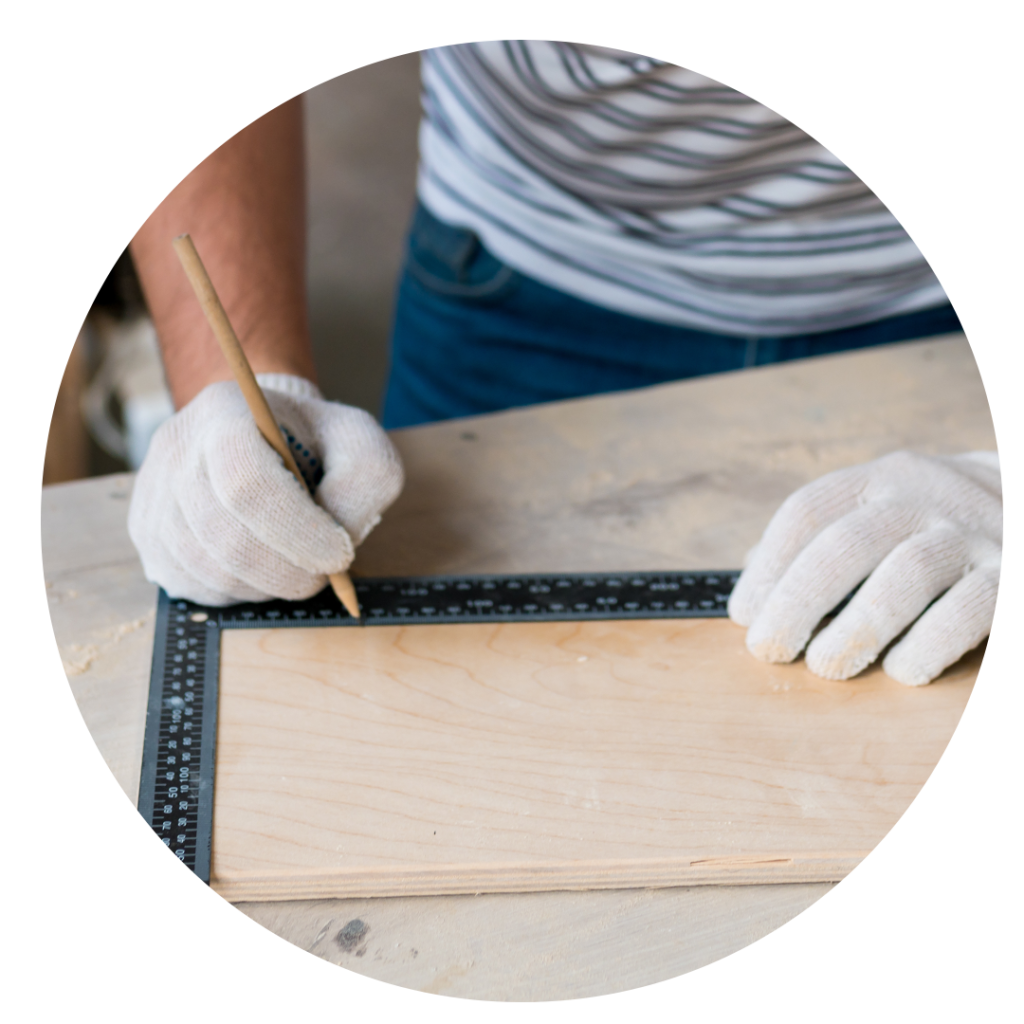
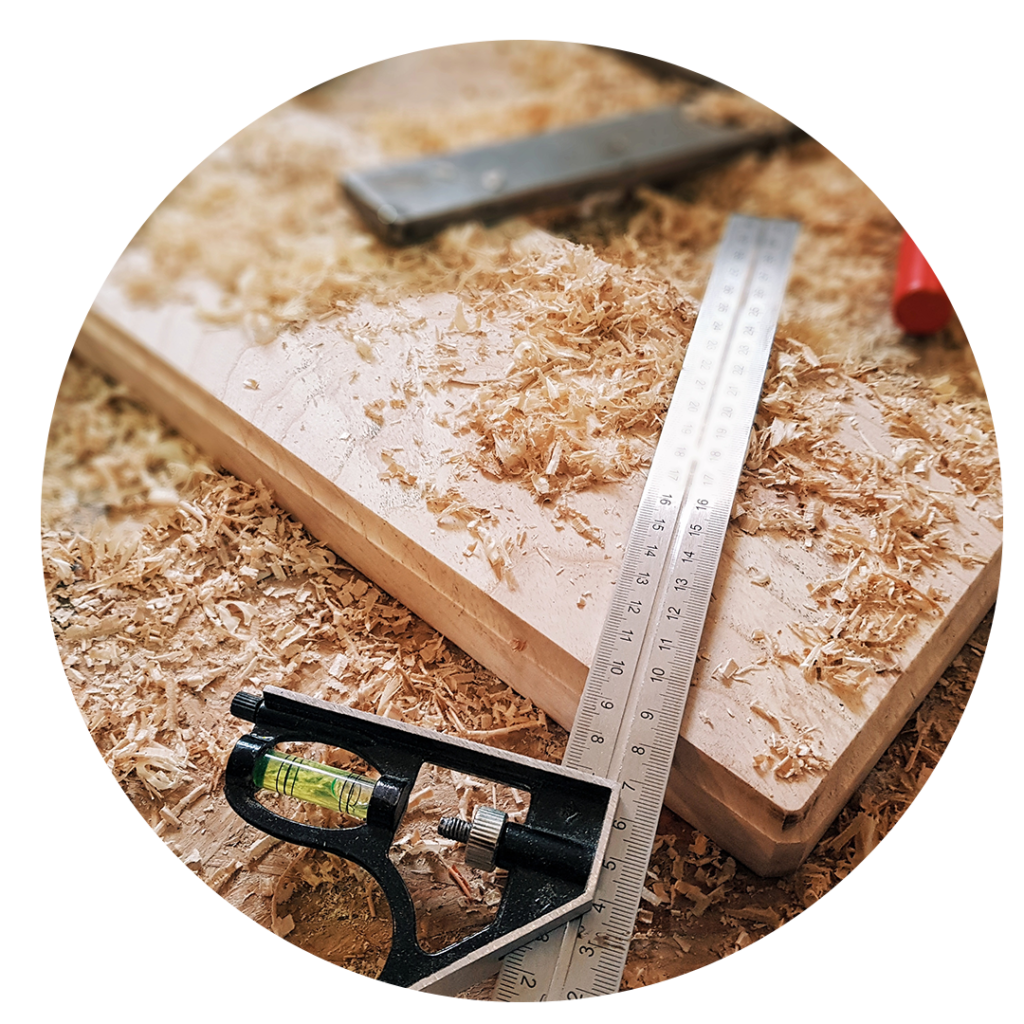
Early on, you’ll learn how important it is to heed the classic wisdom: Measure twice, cut once.
You’ll save yourself countless hours at the workbench and headaches just by taking careful measurements throughout your project. It all starts with a quality tape measure.
You have lots of options for tape measures today. Chances are you own one of the classic retractable steel tapes. That still works fine.
If you don’t have to be perfectly accurate, consider investing in a digital or laser-based measure. These models cost a little more and tend to be a little less accurate, but the added convenience factor of not having to hold the other end of the tape may be worth it in certain circumstances.

A cordless power drill is another tool you likely already own. You can use its electric-driven torque to drill holes, for starters. But with the right bits and jigs, a good cordless drill can be you’re primary drill/driver for everything from making a pocket hole to putting screws in. The only question may be whether your drill is robust enough to handle every challenge you throw at it.
Cordless drills come in a variety of voltage ratings. The higher the voltage, the more powerful the drill. For the greatest versatility in your shop, consider an 18-volt model. This may be more powerful than you have now. But it’s another instance in which spending just a bit more yields great benefits.
On the other hand, you could go with a corded power drill that will give you a good tool that will be more reliable and have a lower cost. These benefits come with the obvious drawback of the cord, as well as typically having a little less power. But if you’re doing most of your work in a shop, and you aren’t trying to put a lot of holes into hardwood, it might not be a big deal.
Your other major decision with your power drill is chuck size. This term refers to the size of bits the drill will accommodate. Do you go with the standard ⅜” or move up to heavy-duty ½”? Drills with the larger chuck size will cost more. But the larger diameter at the base of the bits also means greater durability. It can save you the hassle of a lot of broken drill bits.

If you’ve ever tried to make a square cut in hardwood with hand saws you’ll know that even more than a cordless drill, the circular saw is perhaps the essential power tool for the beginning woodworking hobbyist.
This workhorse tool cuts pieces of wood by spinning a round, sharp-toothed saw blade at high speed. It’s vital for cutting wood to size.
You have three kinds of circular saw blades to choose from:
A carbide-tipped combination blade is a good starting point for your hobby shop, but you may also want to invest in a good finishing blade for rabbet joints and for starting dovetails.
The other question is blade diameter. The smallest you’ll find is 7 ½”, which will limit the thickness of the wood you can cut. A better choice is a 10” or even 12” blade.

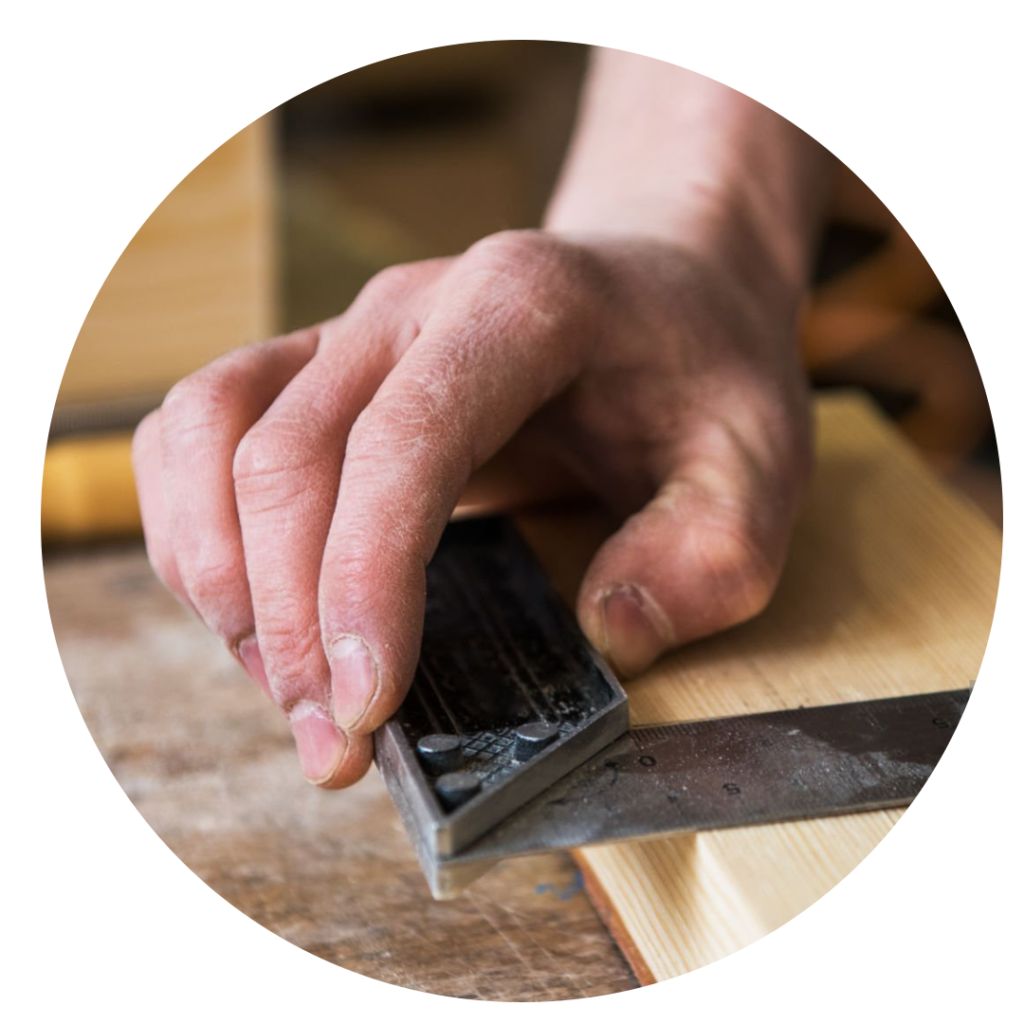
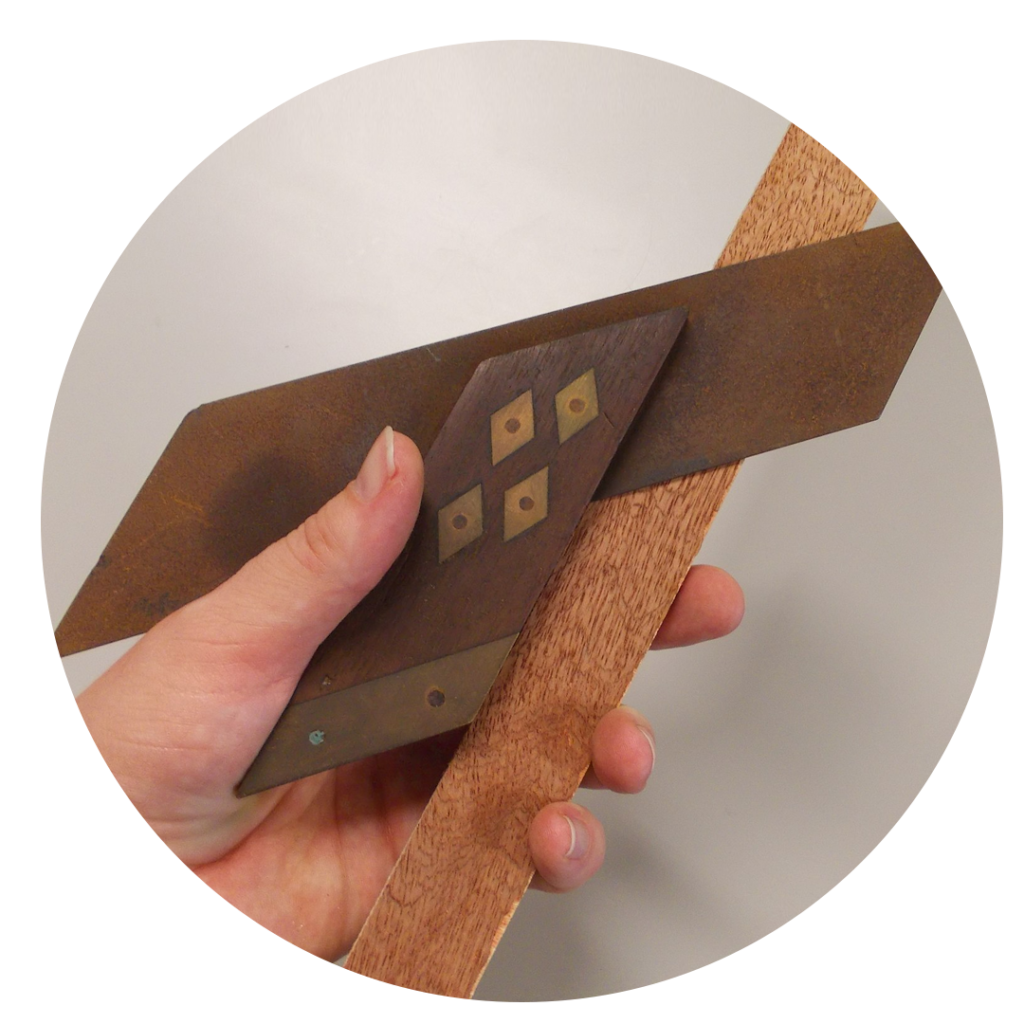
A carpenter’s square is a classic, vital tool for any woodworking project. It has two arms, each with measuring markings. Use a carpenter’s square to mark off and check angles for cuts and fastening.
Here’s a quick look at the different types of squares you might want in your shop.
Framing Square: The biggest square you’ll find for larger workpieces
Framing Square: The biggest square you’ll find for larger workpieces.
Try Square: Basic square for verifying right angles
Combination Square: Checks angles and length.
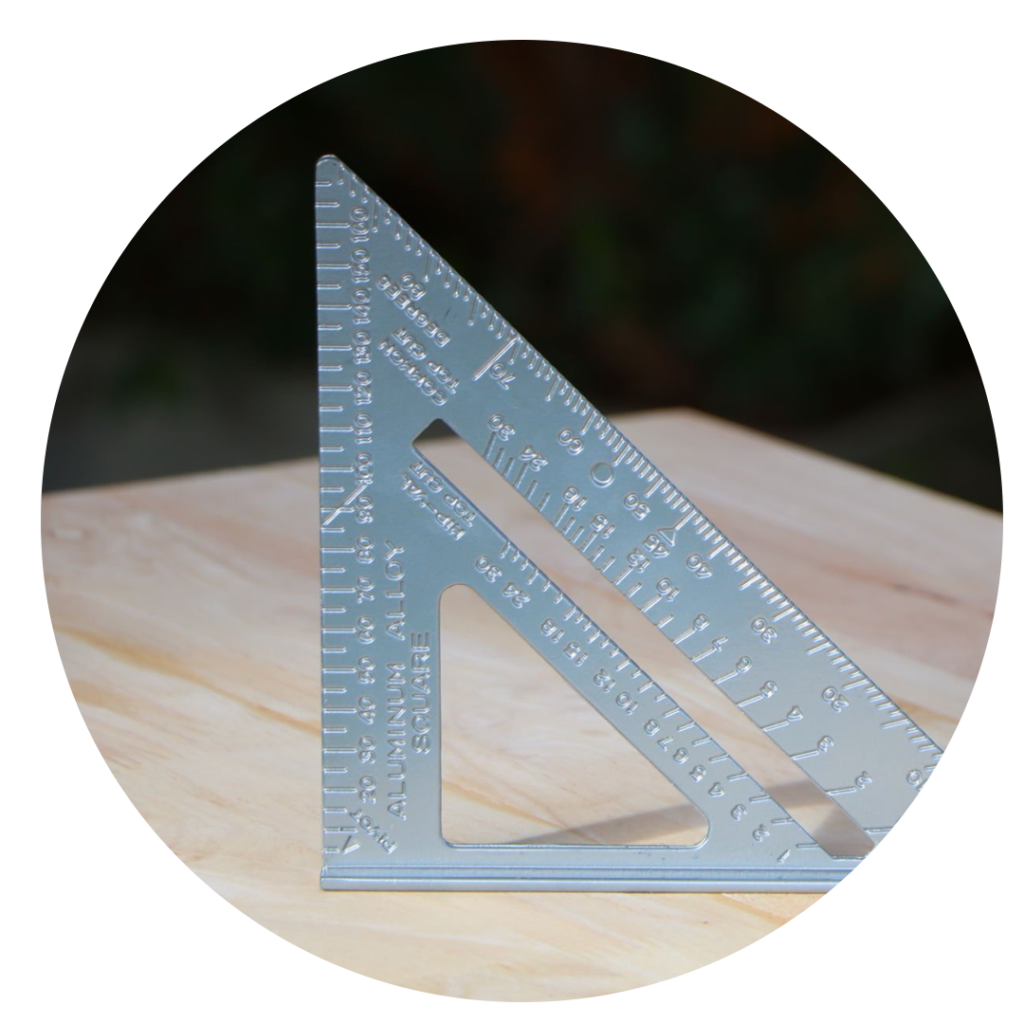
Speed: A triangle-shaped square that lets you quickly mark off and check any angle from 0 to 90 degrees
Miter: A T-shaped square for checking the angles of miter cuts (at angles other than 90 degrees to a board)
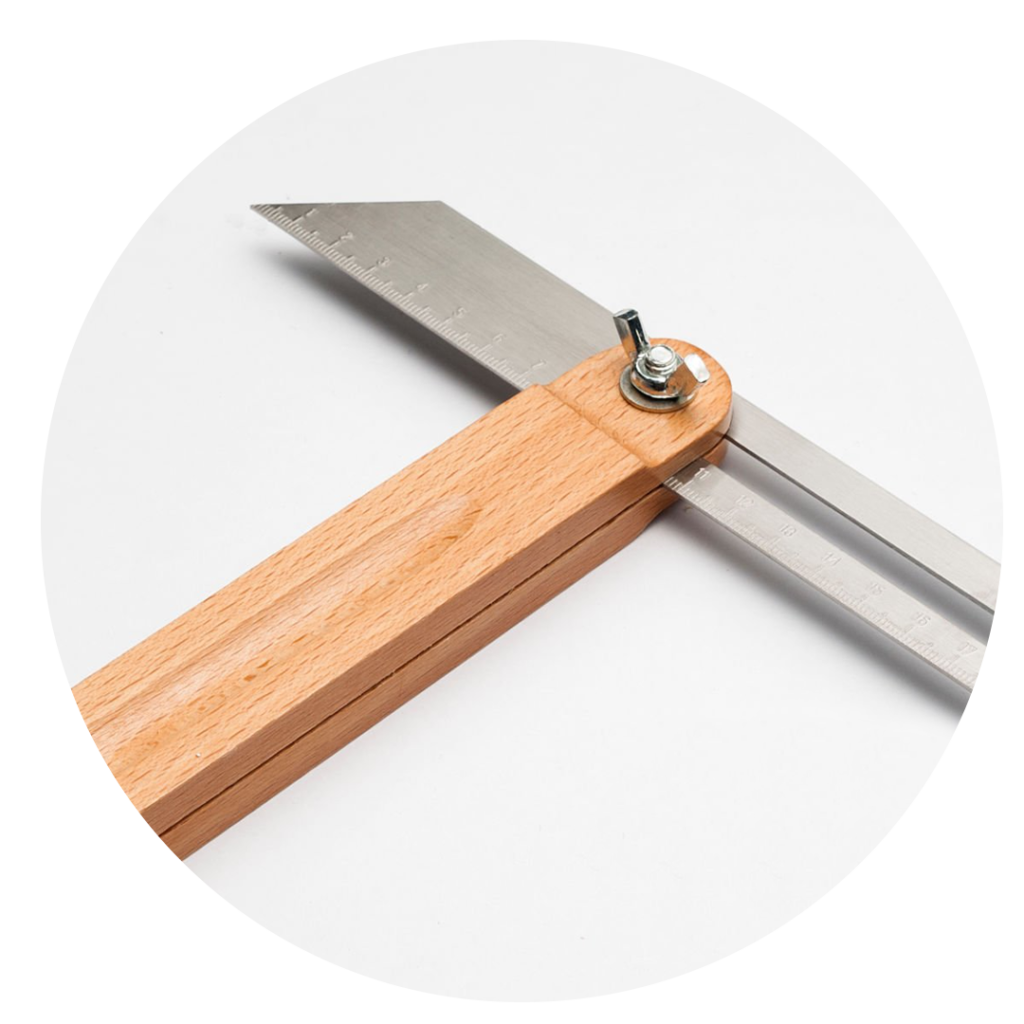
Bevel: An adjustable angle square you can use to transfer an angle pattern from one piece to another

Do you like manual sanding? Unless you approach it as a zen activity, hand sanding with sandpaper can be tedious.
But sanding is a fact of life for the woodworker. It’s how you get that smooth, satisfying surface.
Here’s where the random orbital sander shines. The handheld machine rotates an abrasive sandpaper pad in a random pattern. This movement creates a smooth, even surface. Unlike a belt sander, it’s portable and easier to use on larger pieces.
And as far as power tools go, a random orbital sander doesn’t cost much. You can get a good one for under 100 dollars.

A jigsaw is a fantastic tool for making elaborate, serpentine cuts. It has a thin blade with saber teeth. Unlike a circular saw, a jigsaw blade goes up and down or back and forth (motion referred to as reciprocating).
You can hold the jigsaw in one hand and your workpiece steady in the other. On most models, you can switch out the blade to accommodate different needs. Use a fine blade for cutting thin veneers or a coarse blade for rough carpentry.
A jigsaw is also ideal for making interior cuts (other than from the edge of a workpiece). Just drill a pilot hole and drop the blade in there. You can also plunge the blade into the wood, but this takes a bit more skill.

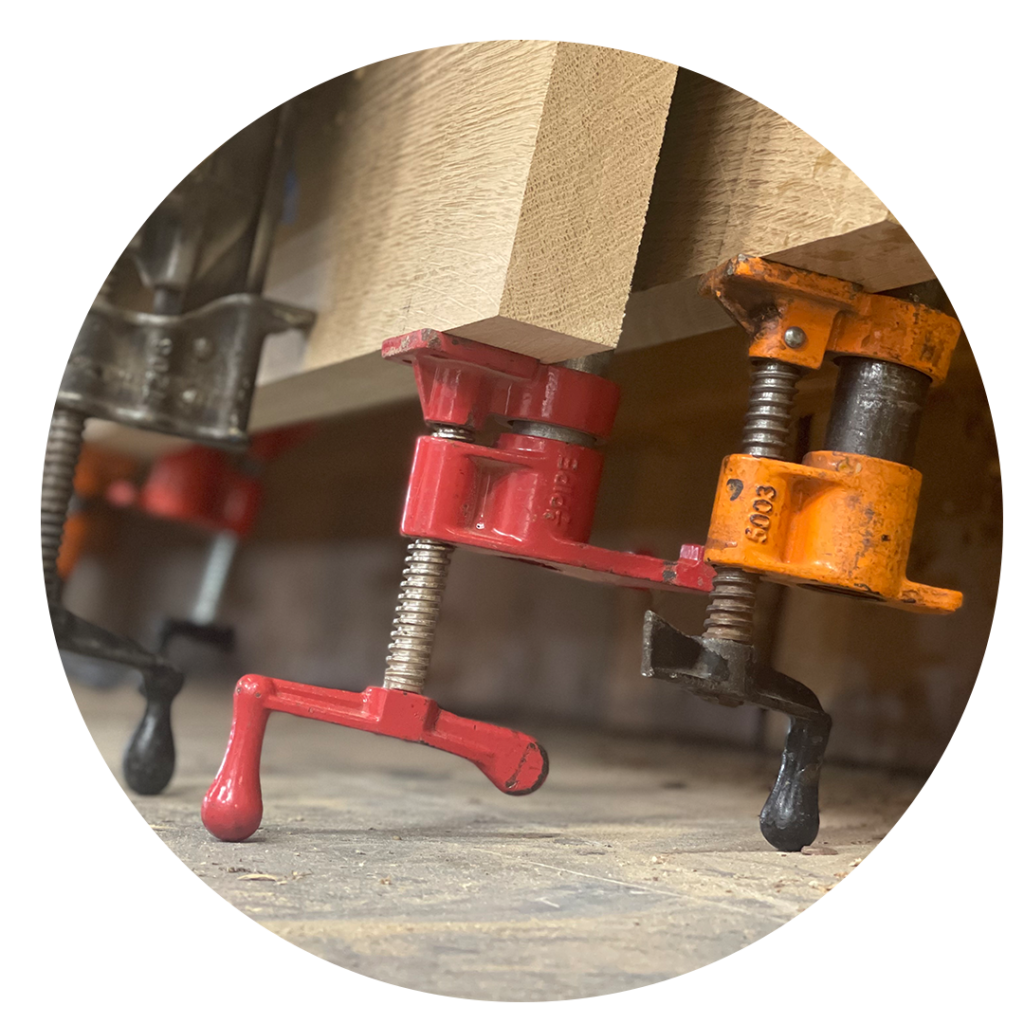
Clamps may not be the most exciting item on this list. But it’s hard to argue against their utility.
Clamps help keep your workpiece steady for cutting, joinery, and assembly. You can also use clamps to create custom fixturing for your projects. For example, say you need to ensure a square cut with a circular saw. As long as you know the width of the foot on your saw, with some clamps, a speed square, and a 2×4 as straight edge, you can make a quick guide for precise cuts or if you clamp it longways it can even be used for rip cuts.
You might be surprised by the variety of clamp types available. Here’s a quick look at clamps you should have on hand as a beginner:
Pipe Clamps
The simplest style of clamp. A set of jaws screw onto the threads of a pipe, and you can quickly adjust the width along the pipe. You get the pipe separately, so you can keep a few different pipe sizes to use with each set of jaws.
We’d recommend at least four sets of jaws, which will let you securely set both sides and both ends of a workpiece. Just be sure to get the right diameter pipe for the jaws (usually either ½” or ¾”; the smaller size is more economical and should work just fine for a beginner).
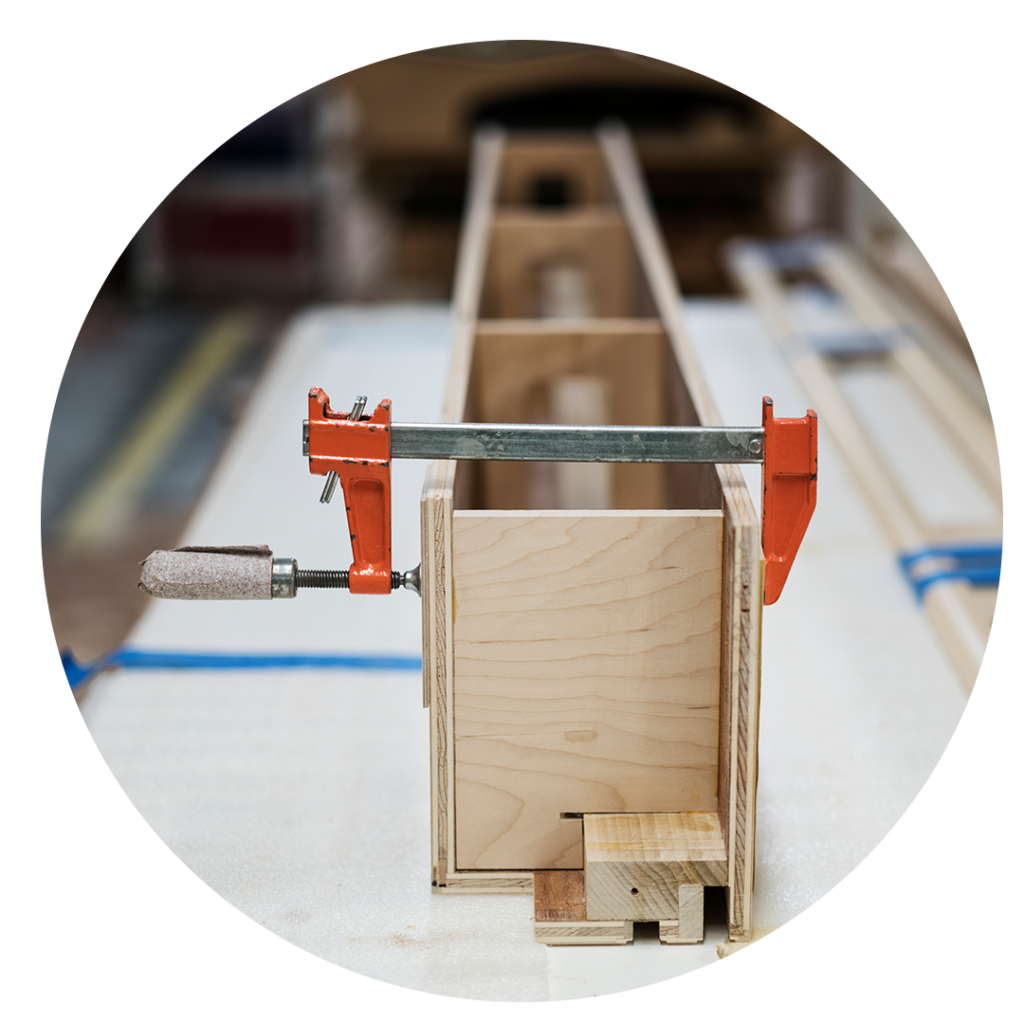
Bar Clamps
Similar to pipe clamps, but with a set maximum depth. These F-shaped clamps are your go-to for smaller pieces. Bar clamps also come in quick release/trigger styles that can speed up your work. Keep several sets in different sizes—6”, 12” and 24”, for example.
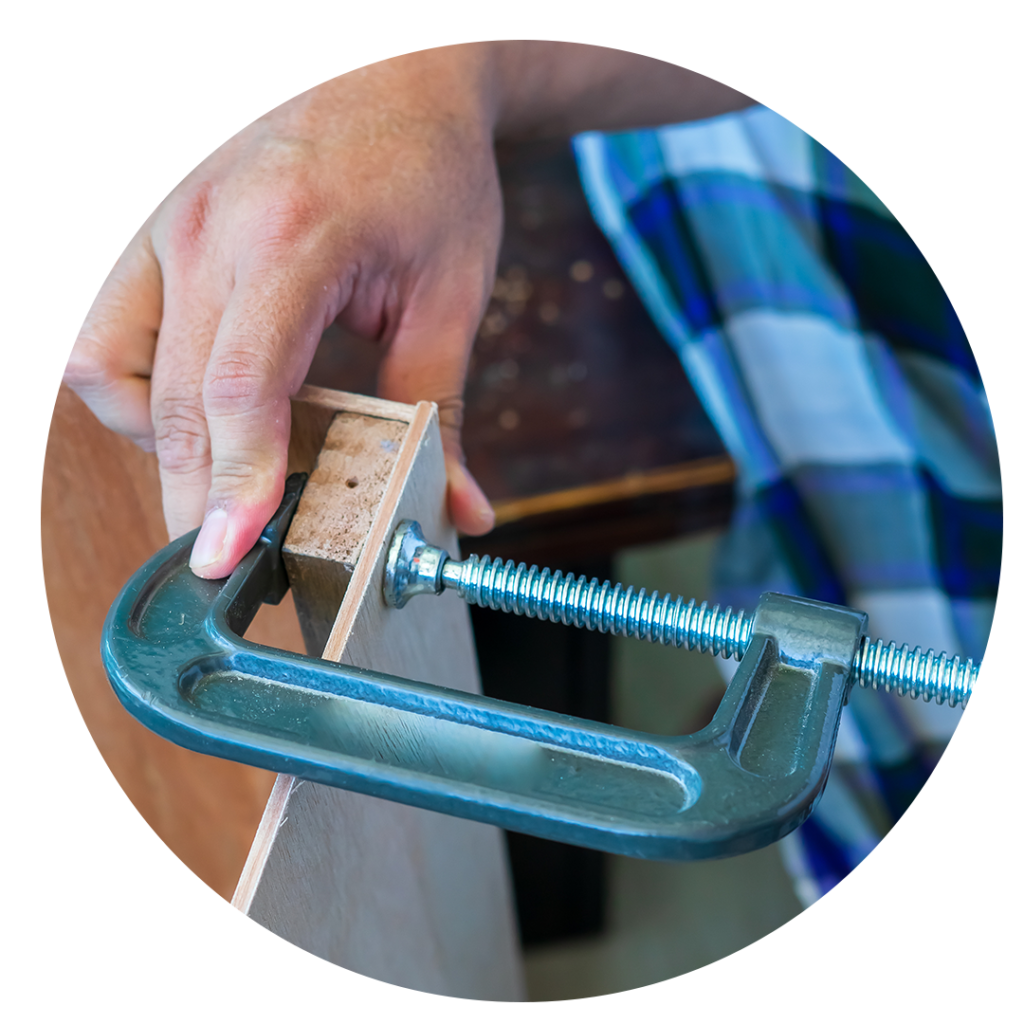
C-Clamps
This classic shape is useful for small projects because they come in small sizes. Turn the threads to tighten onto your workpiece.These are typically not used for woodworking though and should never be used directly on a workpiece though because its easy to overtighten then which will leave an impression of the clamp’s foot on the workpiece.
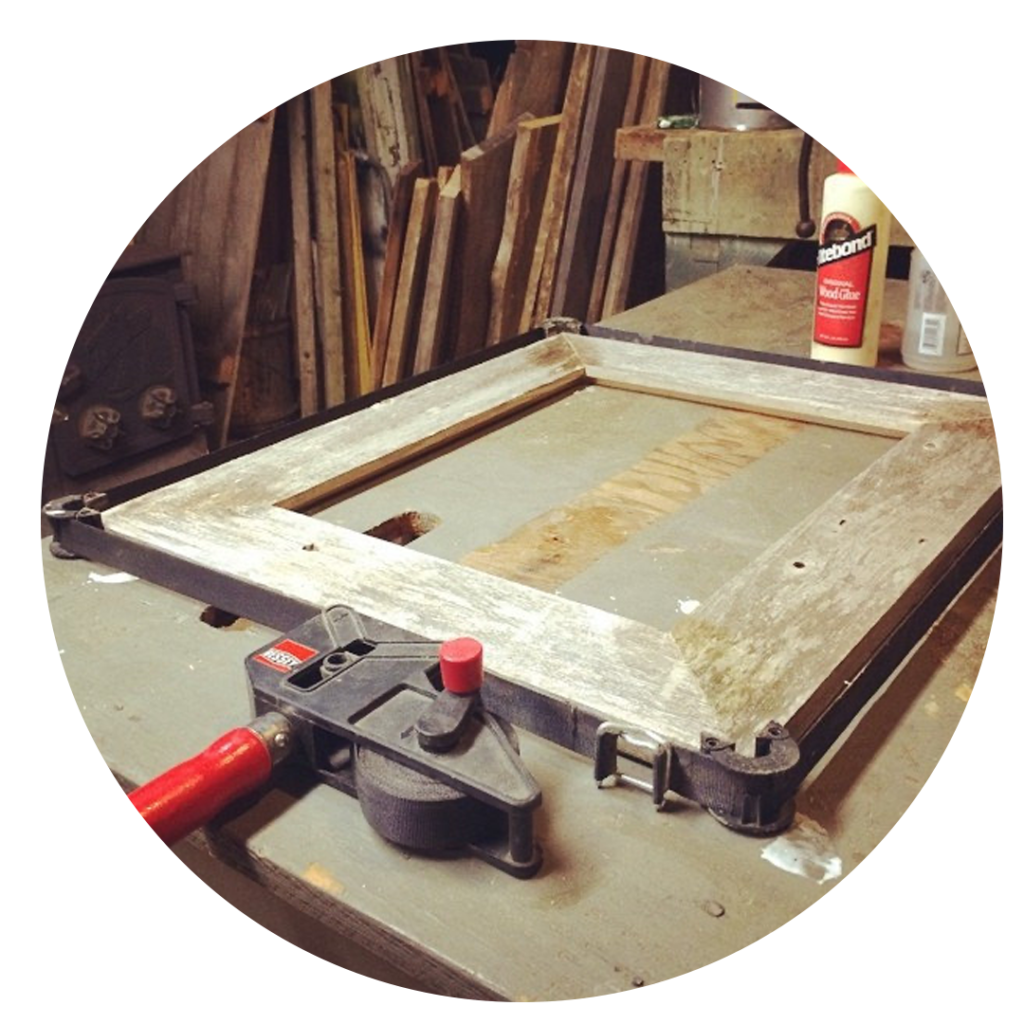
Strap Clamps
Ideal for glue-ups of anything box-shaped, which is common in beginner woodworking projects.

Now as you get into woodworking, we’ll get into some of the more heavy-duty equipment. These power saws will be among your biggest investments.
You may not need to rush out and buy a miter saw or table saw just yet—certainly not before the other items on this list. Plus, there are other basic hand tools we haven’t even mentioned (planer, block plane, screwdriver, chisels, files, hammers, Rubber mallet, etc.).
But when you’re ready to buy, know that quality and prices vary. Do your research, spend a little more, and you’re likely to get a tool that will endure for many years. This is not a tool you want to buy generic on amazon.
A miter saw (you’ll also see it spelled mitre) is ideal for making angle cuts. A great example is crown molding. These pieces connect to the ceiling at a pitched angle, which makes the corners into tricky cuts.
A miter saw a circular saw mounted on an arm that you can tilt and pivot to nearly any angle you need. Just pull the trigger to rotate the blade, and lower the arm through the wood to make the cut.
The depth of wood you can cut through again depends on the blade diameter, which ranges from 8” to 15”. A 12” blade should do the trick for most beginner to intermediate projects.
A good table saw can do many of the same cuts as a miter saw. Table saws are available in smaller bench-top or larger fixed models. Instead of the blade being mounted on an arm, it’s mounted underneath a steel plate. You can tilt the blade to cut different angles. And raise or lower the blade to change cutting depth.
You can’t rotate the base like you can with a miter saw. But you can use a miter gauge to push the wood at an angle against the blade. Or fix a fence parallel to the blade for ripsawing.
In fact, you can buy or build a jig for just about any cut you can imagine. A quick search for table saw jigs will give you plenty of ideas. The availability of jigs to enable accurate, complex cuts makes a table saw perhaps the most rewarding tool you’ll have in your shop.

For those last two power saws on our list, the “power” part is a key consideration.
Generally speaking, a higher horsepower rating for your table saw means being able to cut thicker hardwoods with ease and durability. Common options include 1.75, 3, and 5 HP. With a good high-quality motor, any of these should work for your shop. You’ll find plenty of models that use single-phase power—which is the residential service you probably already have.
But what if you envision expanding your shop? Or taking on bigger jobs? Of do you want to buy these tools for a lifetime? Remember that these tools are going to be the most expensive in your shop. So if you have the ability to, it’s better to buy a quality tool that will last a long time. While you are able to cheap out on these tools, when you do, the tools will have a much shorter lifespan before having to buy them again.
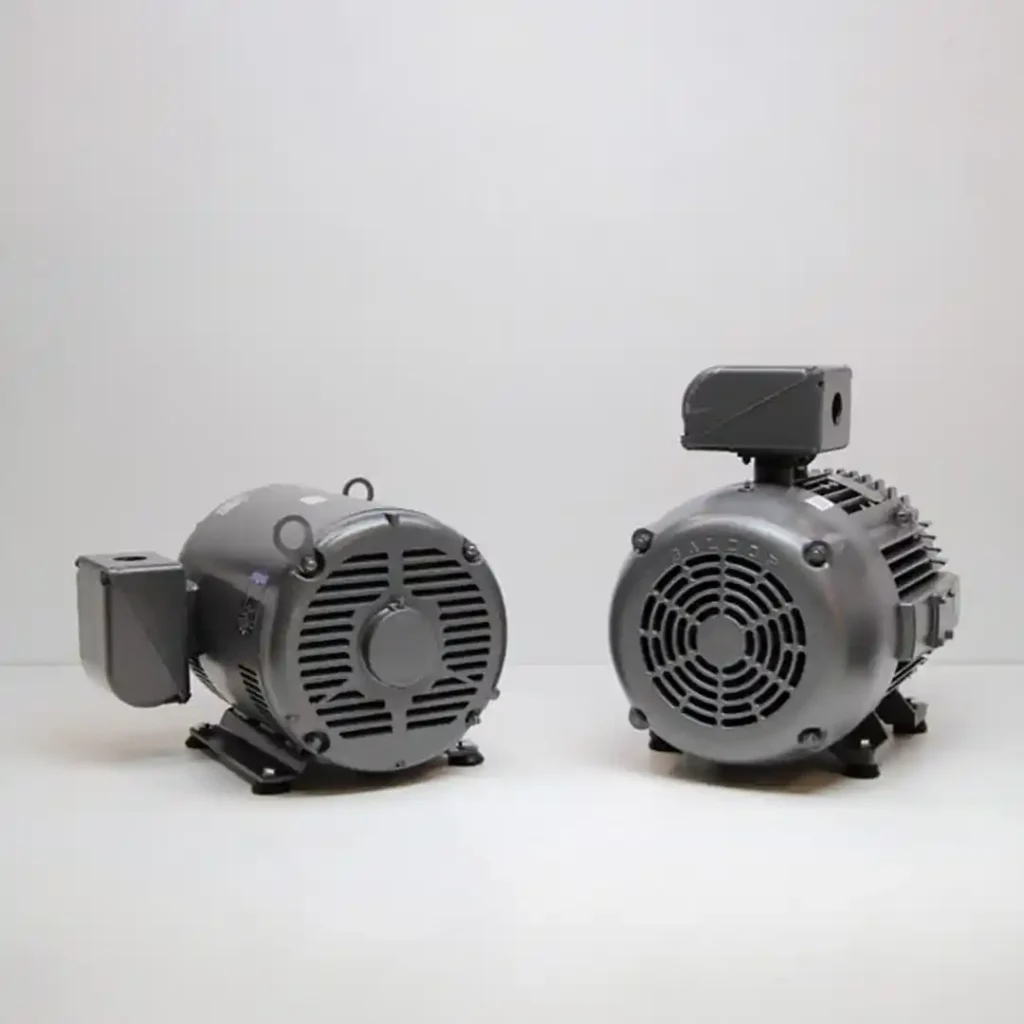
If any of these are true you might want to consider three-phase equipment. If you know how these a 3 phase converter works, you’ll know that this option will likely get you a more powerful, consistent, and reliable, machine for your money. The trick is that in order to run these machines, you need to supply them with three-phase power.
In that case, a three-phase converter can provide the reliable, efficient power you need. In addition, you can run other equipment off the converter at the same time. That’s a big plus if you decide to add more heavy-duty equipment or cnc machines to your shop in the future.
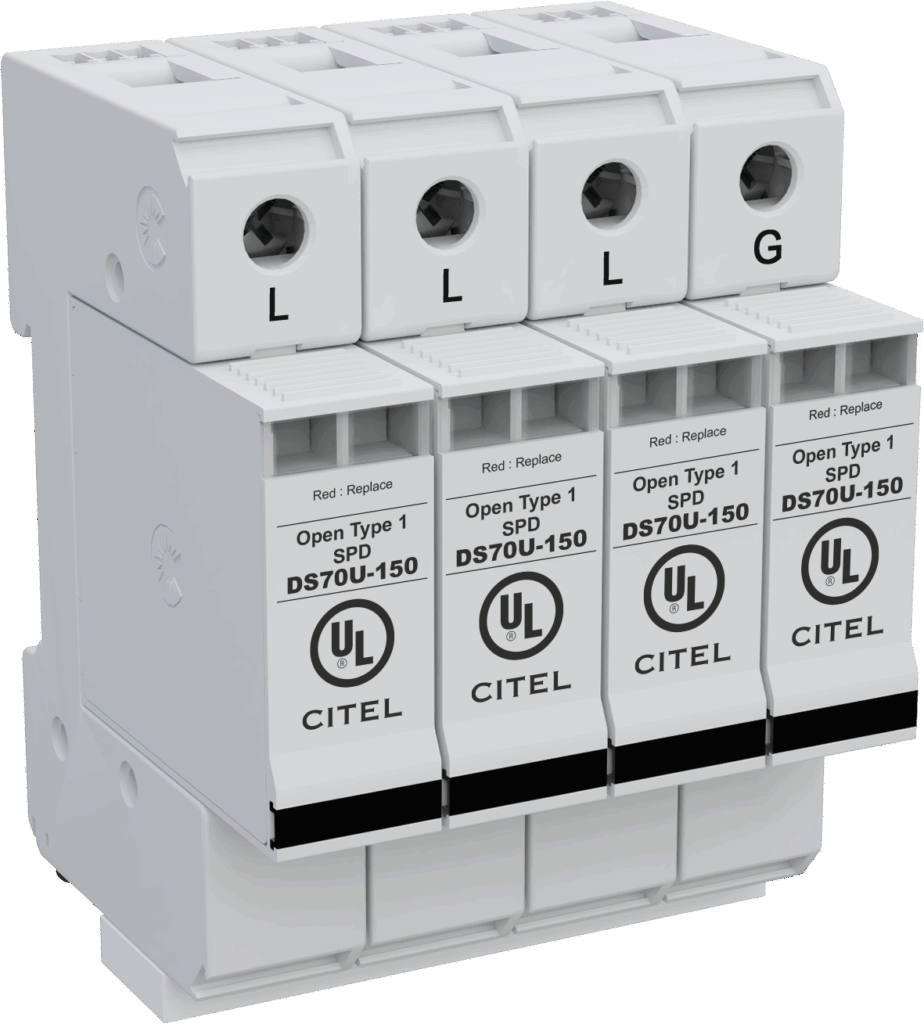
USA-made American Rotary phase converters deliver balanced 3-phase to keep your whole woodshop running. Explore American Rotary phase converters for woodworking here.
Not sure what you need? Contact us anytime to discuss your power requirements for your shop. Now go make something amazing with wood.