The rumble of mills and lathes. The clanging of metal materials. The gleam of newly polished workpieces. Metal machining is so metal!
Without a doubt, it’s a fun, fulfilling, and useful pastime. But it’s not the easiest thing to pick up. So if you’re interested in getting into machining as a DIY hobby or, a career, or starting your own machine shop, here are 12 essential machining tips from an old pro that apply to both beginner CNC machinists and manual machinists. As well as whether you’ve been in the trade for a while or if you’re just learning the basics of machining.

No form of metalworking is easy, but where a welder is more like an artist a machinist is more like a scientist. Machining is a precise craft involving complex machinery. You can’t expect to know what you’re doing going into it or master it overnight.
While it might seem strange to start this machining-positive list with a word of warning, it needs to be said. Machining chops take time and practice to develop. And often, a fair amount of learning by mucking things up.
Don’t be afraid to fail, and be patient with yourself when you do.
Because every out-of-spec cut is an opportunity to learn and grow. Even the masters are still learning. Like any worthwhile pursuit, machining is a journey and not a destination. Enjoy it every step of the way.

We get it. You’re tough. But you’re not a fool, are you? So always take proper safety precautions in your machine shop.
As a machinist, you’re working with crazy-powerful equipment. You won’t win in a fight, so don’t get into one. That means:
And, of course, knowing and following the safe operation of each machine at all times.

One of the coolest things about getting into any new hobby is learning some old school lingo. Machining is loaded with terminology that will confuse most newbies at first. It helps to know a few of these terms from the get-go.
For example, “a tenth” doesn’t equal 0.1 in machining speak. That’s because everything in the trade is based around thousandths of an inch (or simply “thou”). We’re just that precise!
So a tenth actually refers to one ten-thousandth or 0.0001 inch. And 0.1? Well, that’s a “hundred thou.”
There’s lots more where that came from, so check out this handy glossary of common machinist slang. Then you can head over to a quality machinist forum and quickly pick up some new knowledge.
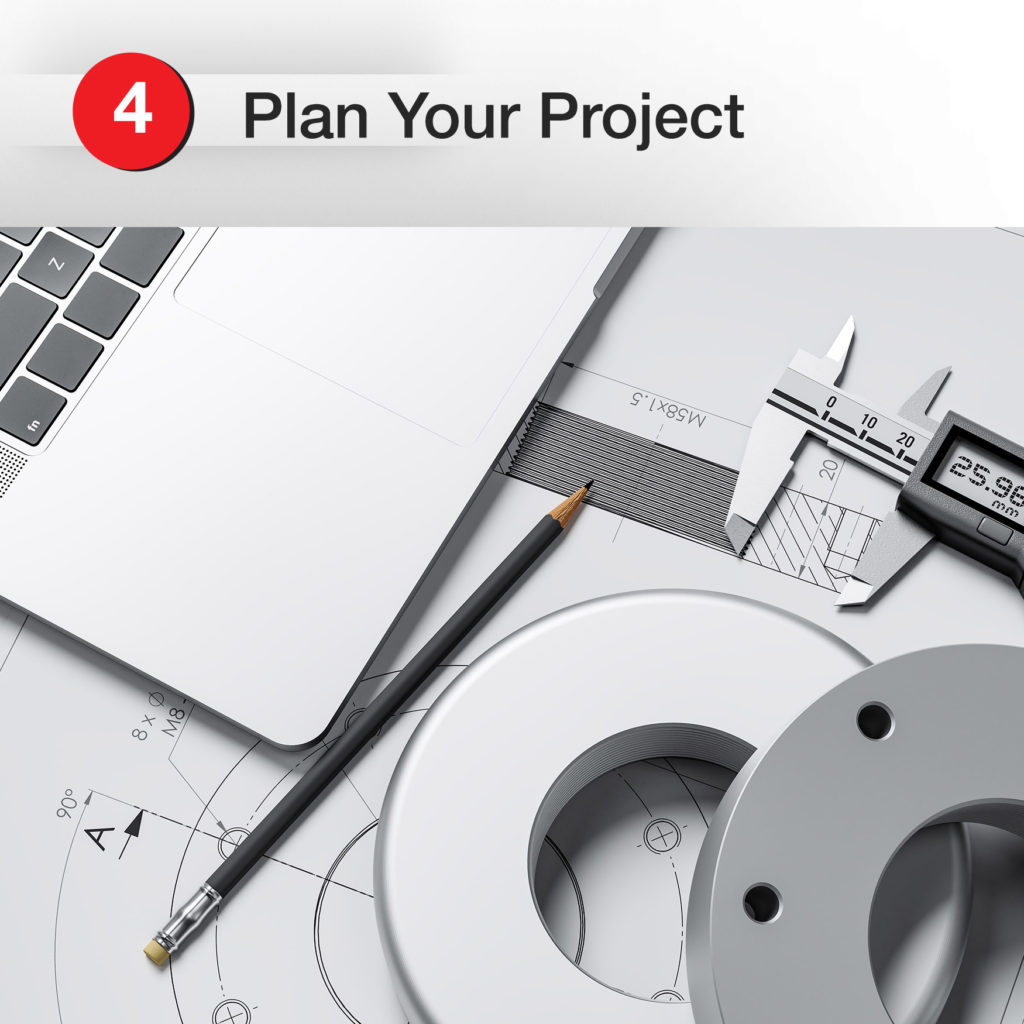
Sure, just for the sake of experimenting, go ahead and try to do a machining project without making a blueprint for it first. See how that turns out.
You’ll quickly find that the better you prepare, the better results you’ll see . Holes line up. Pieces fit. Edges are straight and smooth. You’ll have a lot less scrap metal – in other words, less frustration and wasted money.
Always draw a print first, whether it’s on a napkin or in CAD software.
Don’t know any CAD? It’s time you learned. Today’s CAD programs are more accessible than ever. You can learn the basics fast. While you’re at it, make sure you know how to read the prints, too. I promise: this learning will pay off!
Don’t be deterred by the price either. AutoCAD is really expensive but for most hobby work and prototyping FreeCAD will work fine, or for those with prior experience with AutoDesk software, you’ll feel right at home with the personal use version of Fusion360.
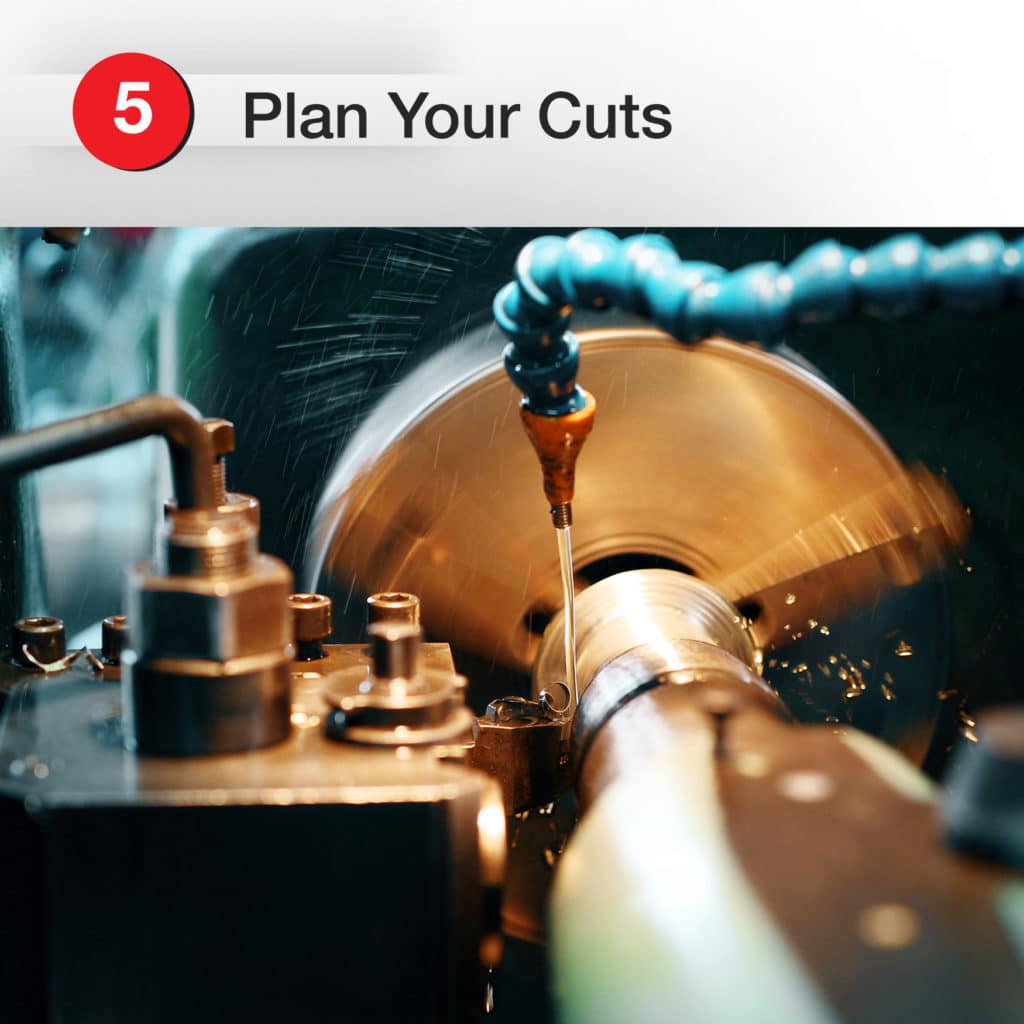
As a corollary to tip #4, it’s crucial that you think through your order of machining operations.
Your print (tip #4) should identify the precise dimensions of your piece and exactly where your cuts go. But this tip is about determining when and how to execute your machining operations to do the job right.
A lot of it comes down to common sense. Know how much you’ll be removing. Make your bandsaw cut precise. Then keep the sequence as simple as possible. Keep in mind your fixturing. Break up multi-step operations, and don’t take the part out of the machine unless you have to. Don’t create a plan that will have you constantly running back and forth around your shop either. More simplicity means less scrap.

Once you’ve planned out your optimal order of operations, it’s time to get to work. You might get antsy to go straight to the boring, milling, grinding, etc. Not so fast!
First, you’ve got to get your machines set up right. Machining is precise business.
Taking care to be exact with your machining setup will help ensure you produce the precise results you want. For every machining process you’re doing, make sure your machine, vise blocks, other fixturing, and workpiece are clean, secure, and square to a machined reference.
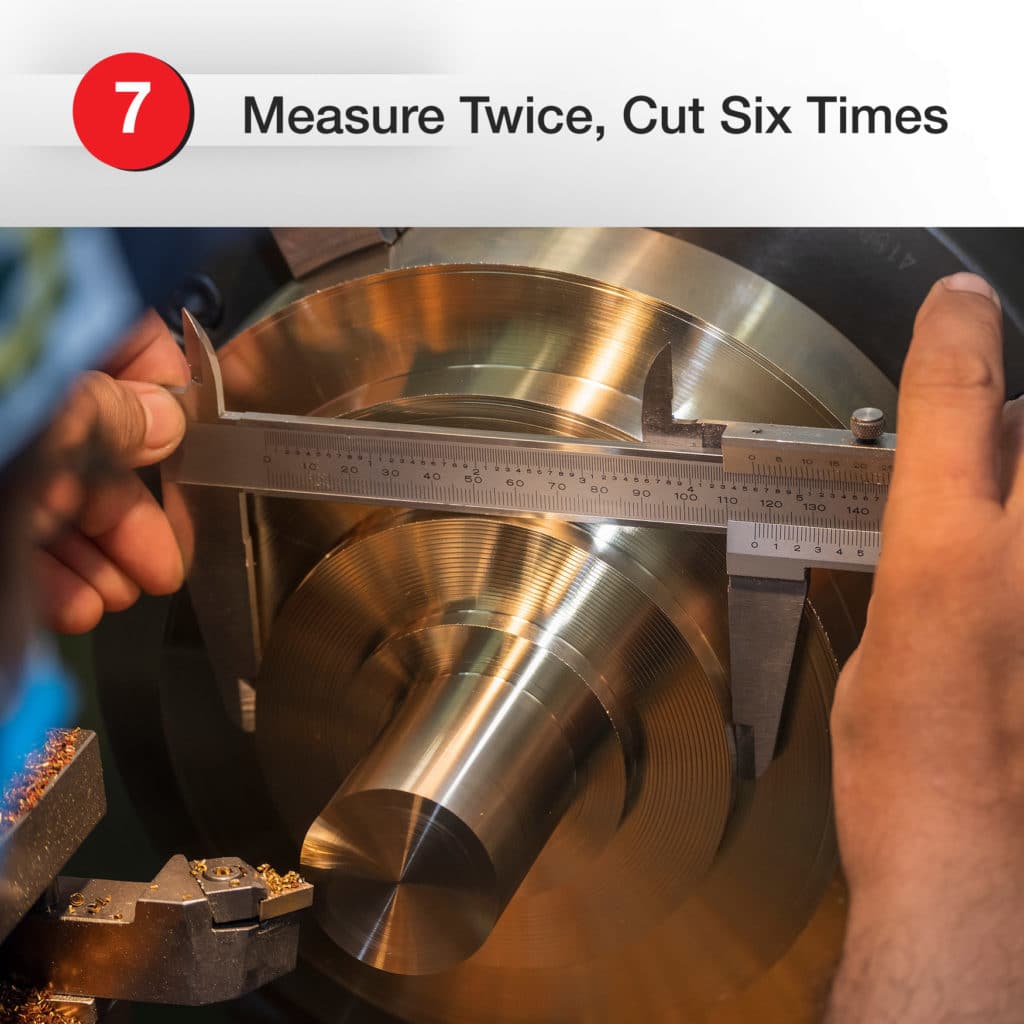
This is a time-honored machinist’s idiom. The gist of it is you have to be both precise and persistent/patient with machining cuts.
Cutting metal takes a lot of force. Deep cuts put a lot of stress on your tooling and your machine. Trying to do too much in one pass risks breaking the tool and scrapping your workpiece. No fun.
Save yourself the time, frustration, and costs of broken tools. Plan to do multiple passes for your cuts with a good flow of coolant and keep your machine and tools in top shape.
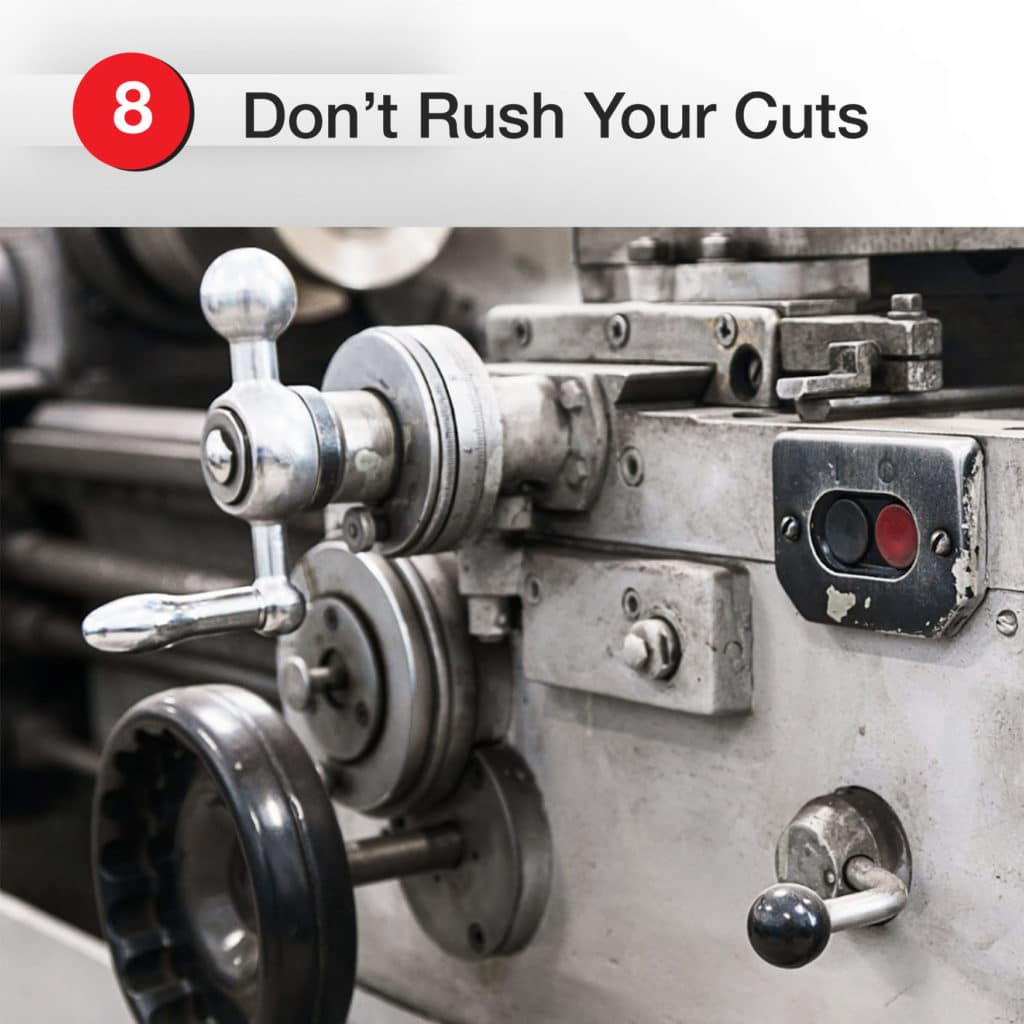
See the pattern developing here? Patience, my friend. It takes time to do things right and protect your tooling.
Three important parameters to keep a close watch on are:
The relationship between these parameters will determine whether you make good cuts. Speed or feed that’s too high can quickly damage your tool.
Not sure how to determine the right specs for your project? Here’s a good reference to help you calculate. In fact you should probably print that chart out and put it in your machinist toolbox.
Listen to your equipment carefully when you cut. Experience will help you identify when something isn’t right (chattering, excessive vibrations, etc.) so you can avoid breaking things after hours of hard work.
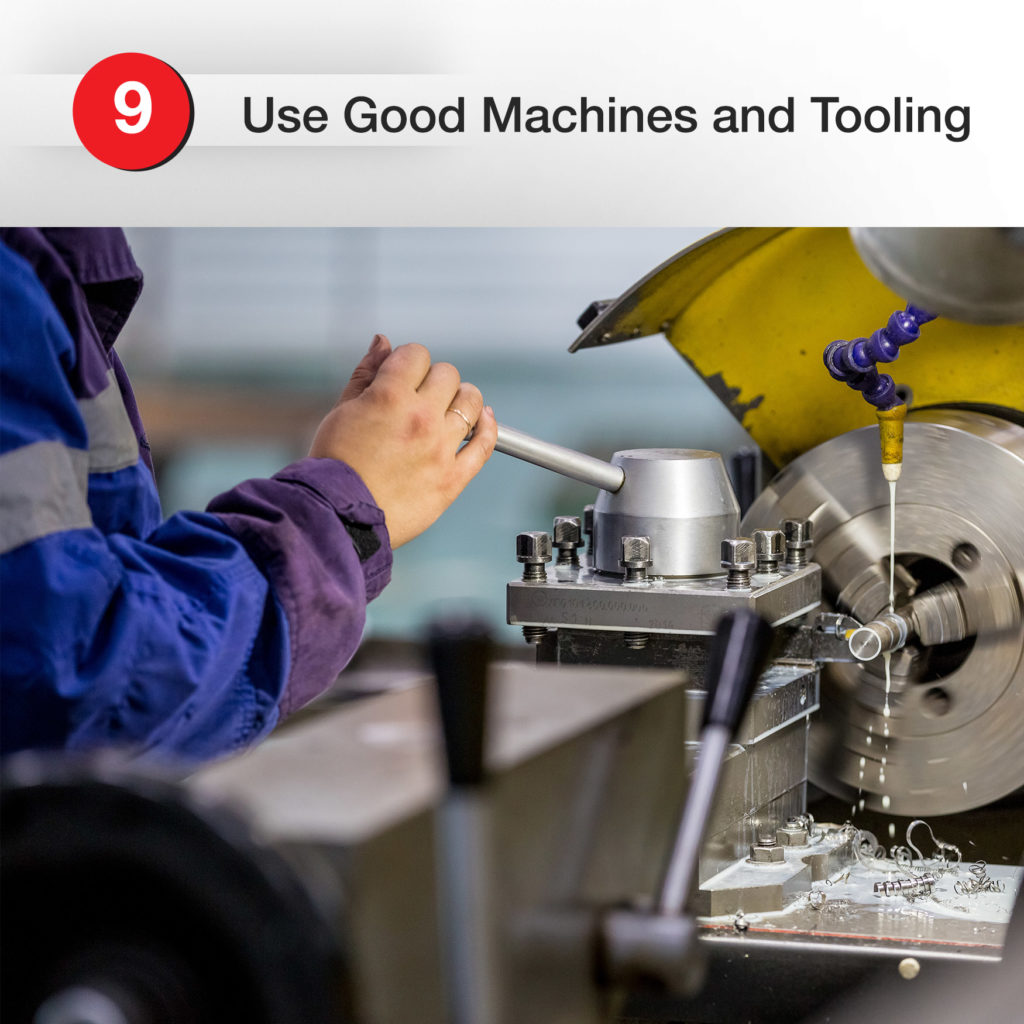
You need robust machines and tough tools to cut metal. It’s tempting to fall for the rock-bottom prices you might find on Amazon and Harbor Freight. But here’s the thing. If $20 for a set of lathe tools seems too good to be true, it probably is.
Good tooling will typically be made of carbide and will cost you more up front. Sometimes $40 or more for a single endmill and hundreds of dollars for a set. But a good cutting tool will save you money in the long run. The tools will last longer, you’ll end up with less scrap, and you’ll be less frustrated, too.
It’s also important to remember to use tooling made for machining. If the drill bit you’re looking is made to go in a hand drill it probably doesnt need to go in a milling machine. Brands like Dewalt may make good bits for household use but these aren’t made to cut through solid steel.

Machining is all about precision. “Close enough” doesn’t cut it.
You can make just about anything you want on a lathe or a mill with different tools. But if you want exact results, it’s always better to use the correct machining operation on the correct machine and the correct cutting tools for any given job.
For example, let’s say you’re making a part that requires .0003 flatness and a mirror-surface finish. You can get most of the way there on a lathe or a mill. But you’ll have optimal, far more satisfying results doing it on a grinder.
Or if you need a precise I.D. on a workpeice in a lathe. This can be done with a drill bit affixed into your carriage or tailstock, but you’re far better off using a boring bar.
Take the time to think your project through and get the job done right!
All right, so you’re following all these tips. You’re building your skills and expertise. You’re taking your time and making good decisions. Even so, sooner or later, you’re going to make mistakes.
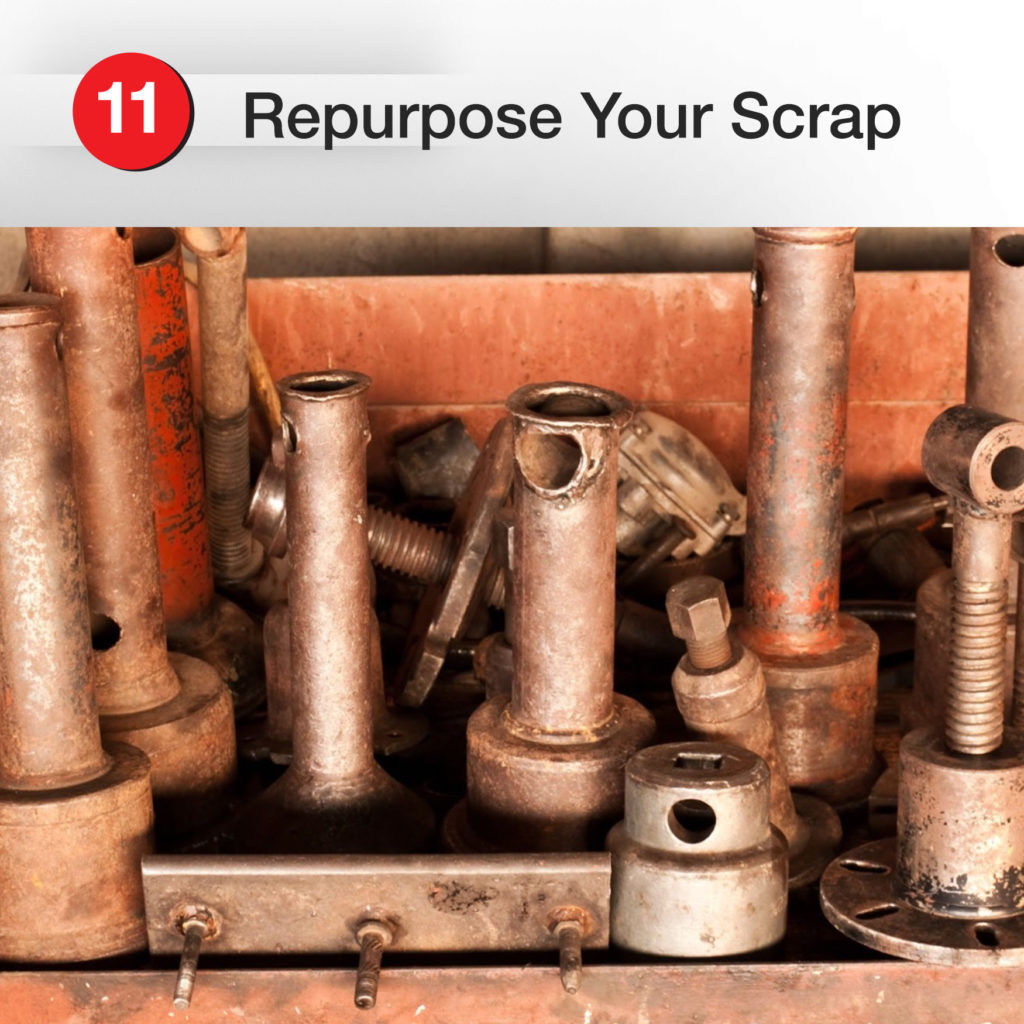
Scrap happens. But fortunately, machining is a subtractive process. If you still have enough material, you can cut some more away to make something else. So reuse that scrap – maybe not for the same project, but for a different, smaller part.
For some ideas of what to do with scrap, try one of these fun milling machine projects, or these metal lathe projects.
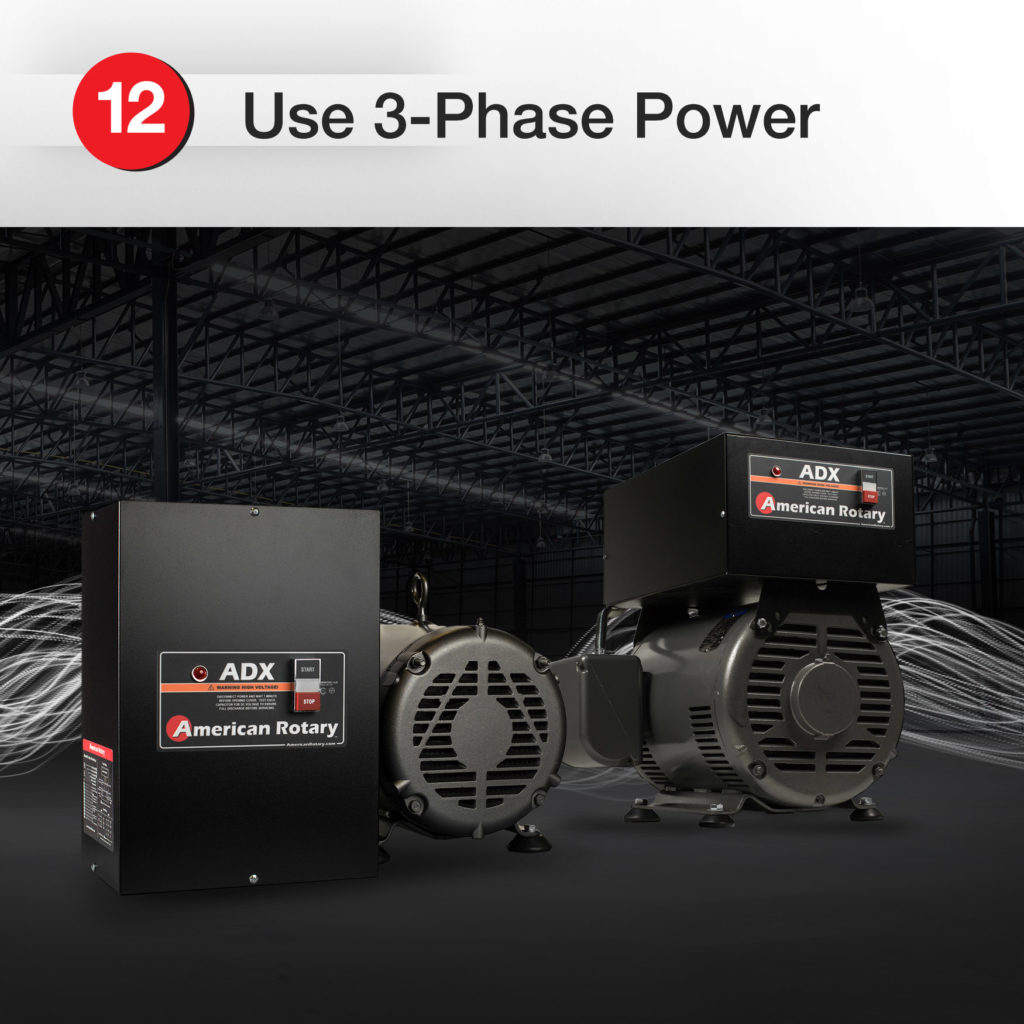
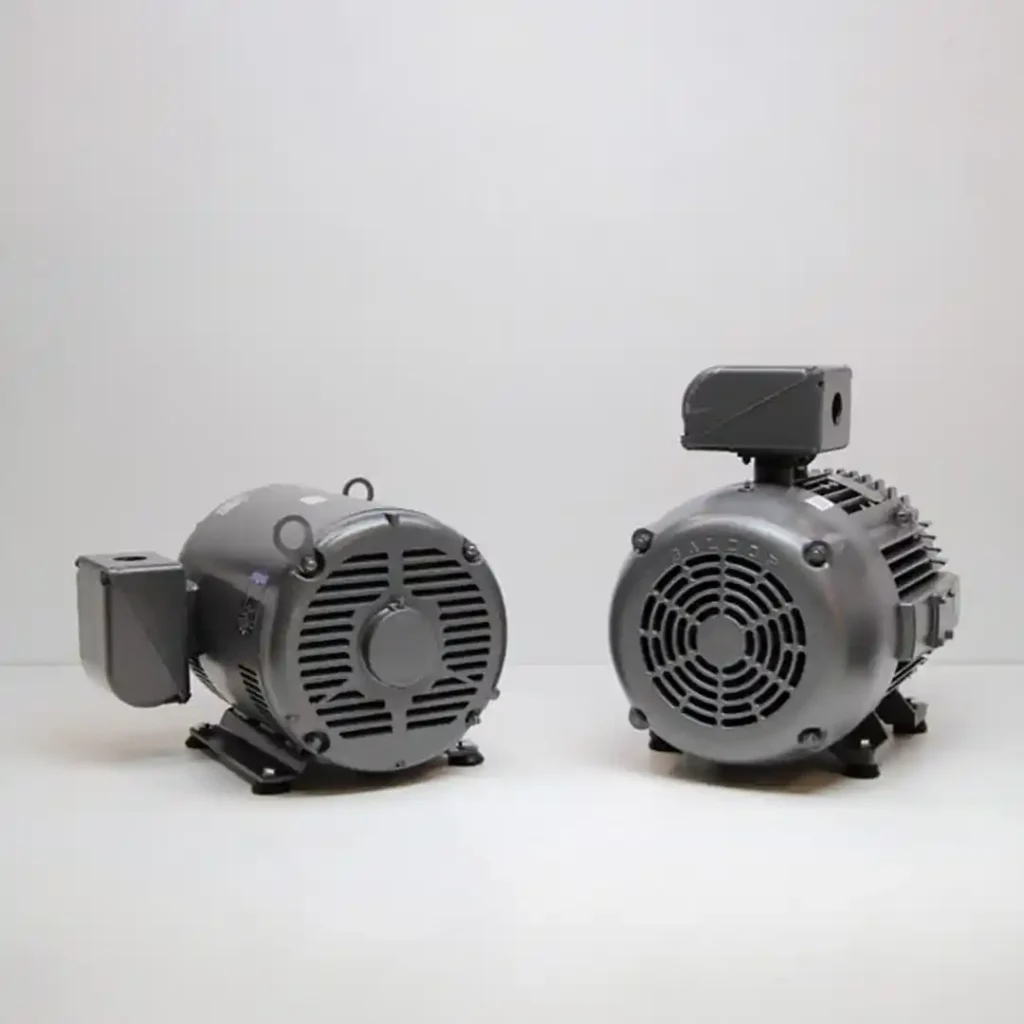
Finally, related to tip #9, you’ve got some decisions to make about the machines you acquire for your workshop. For many machines, you may have a choice between single-phase and 3-phase powered equipment.
Higher horsepower is a big advantage when cutting metal. At that higher horsepower, 3-phase provides smoother operation. That means better surface finish, longer tooling life, and less scrap. Generally speaking, 3-phase is worth the investment.
But what if you don’t have 3-phase power in your shop (and you probably don’t if it’s at home)? A rotary three-phase converter can convert your single-phase to the reliable, efficient 3-phase power you need.
USA-made American Rotary phase converters work with a variety of machining equipment and provide balanced 3-phase power to keep your whole shop running. With proper sizing, you can power any three-phase machine and peripherals at the same time.
We hope these tips help you advance your skills. Meanwhile, have questions or need help with sizing? Contact us anytime!